How to install CI HUB Connector Professional in
WordPress

Follow this step-by-step guide to complete your installation. You can click on the pictures to view enlarged versions of each image!
wordpress-step1
Step 1

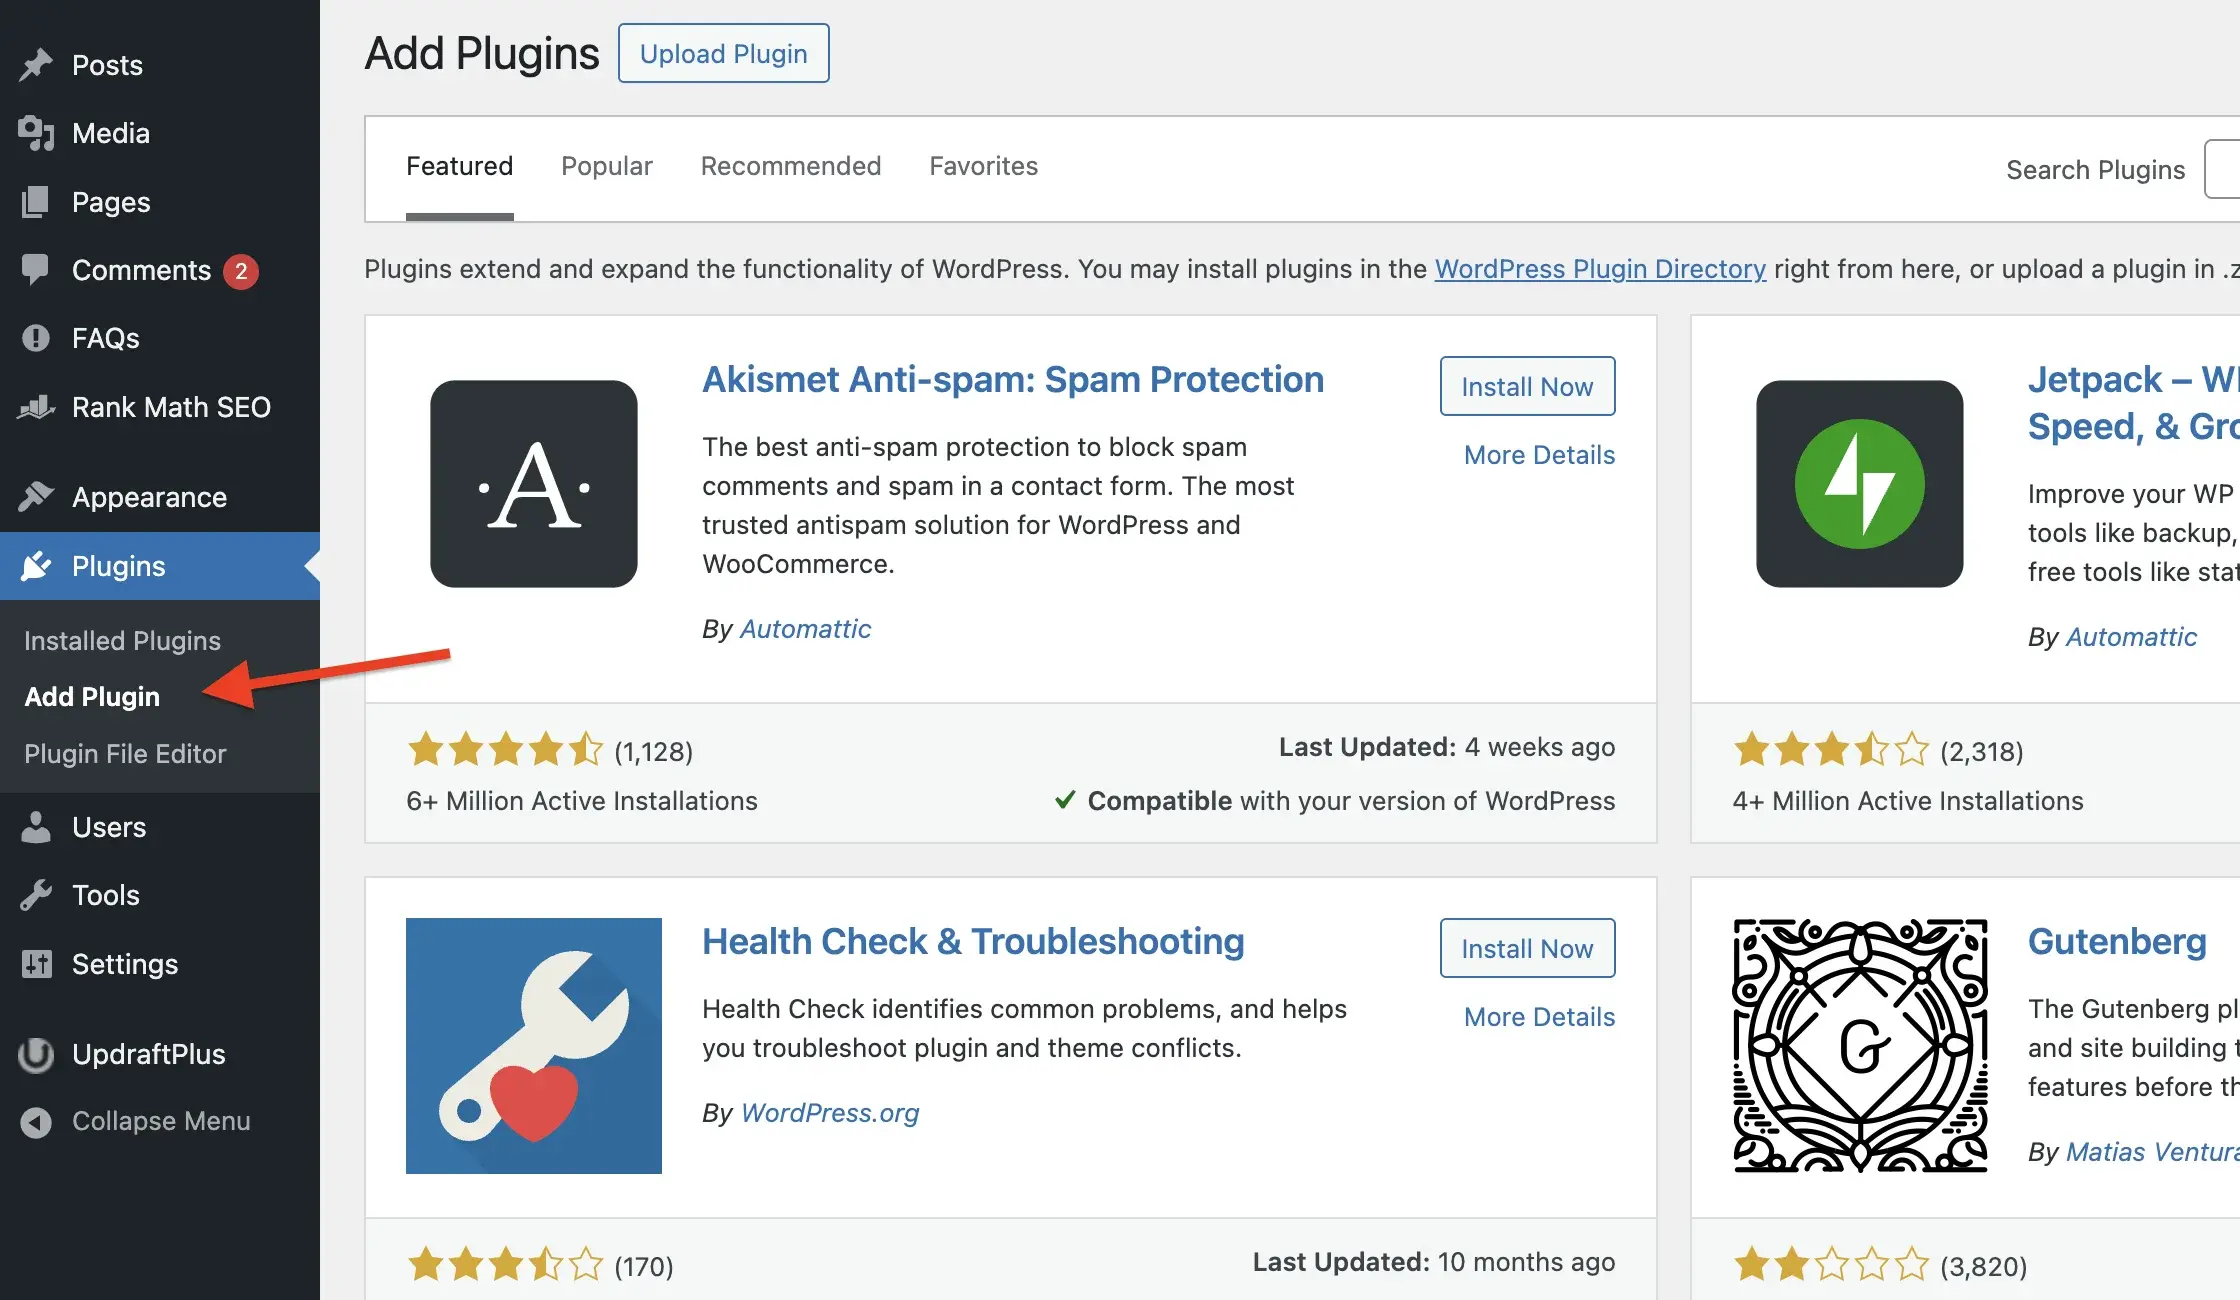
Open your WordPress dashboard and select "Plugins" → "Add plugin" on the left side of your screen.

wordpress-step2
Step 2

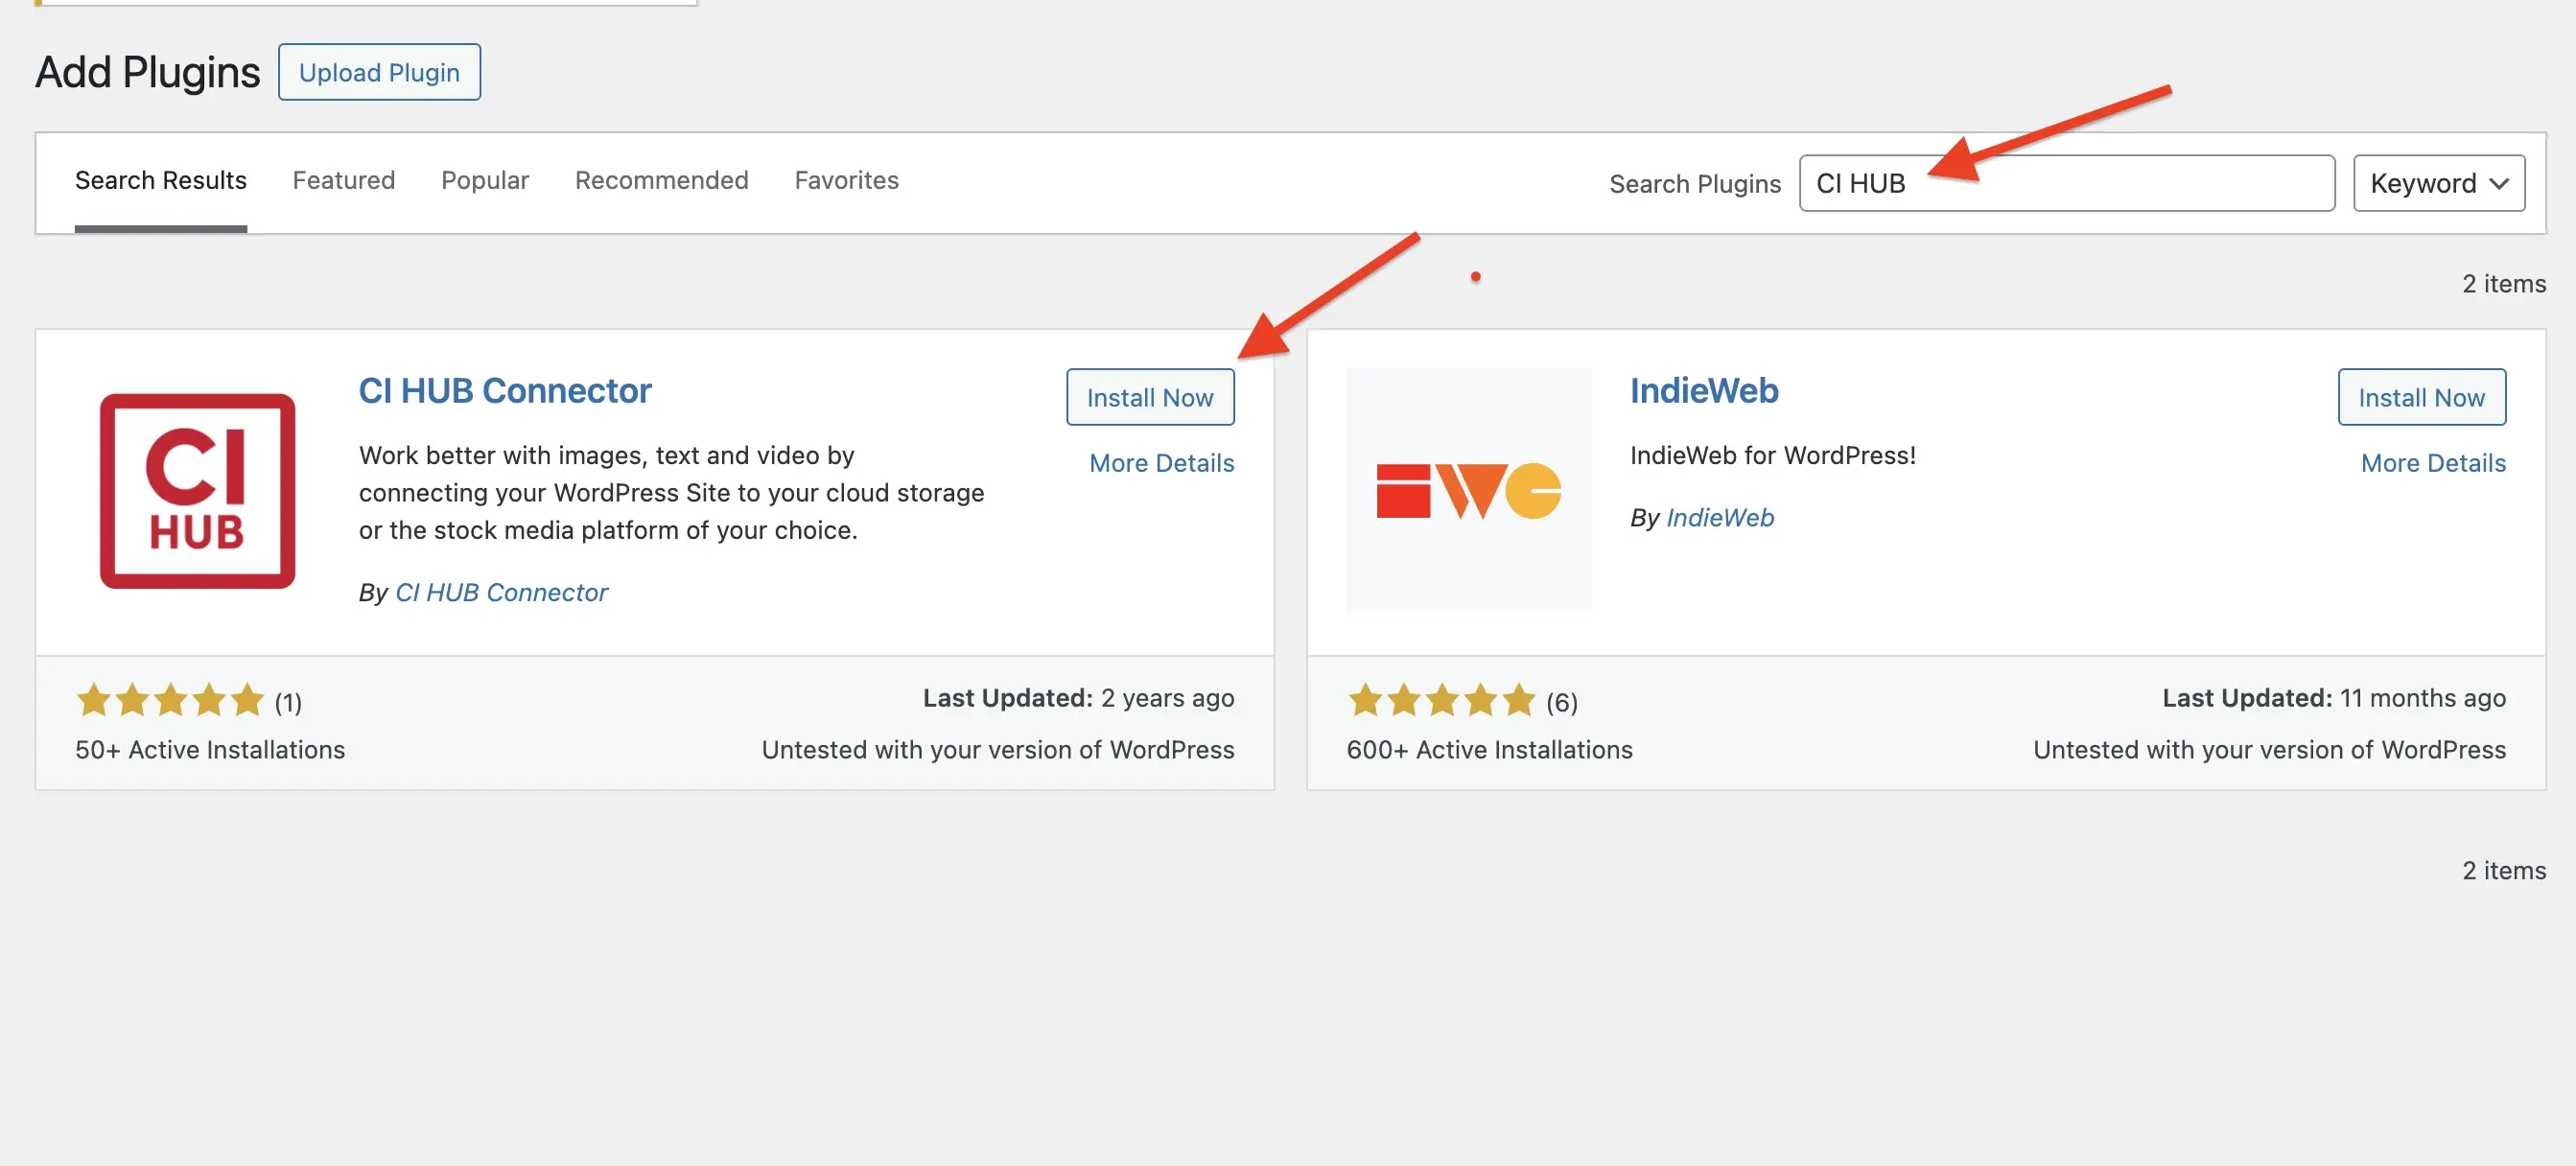
Type "CI HUB" in the search bar, install and activate the "CI HUB Connector" plugin.

wordpress-step3
Step 3

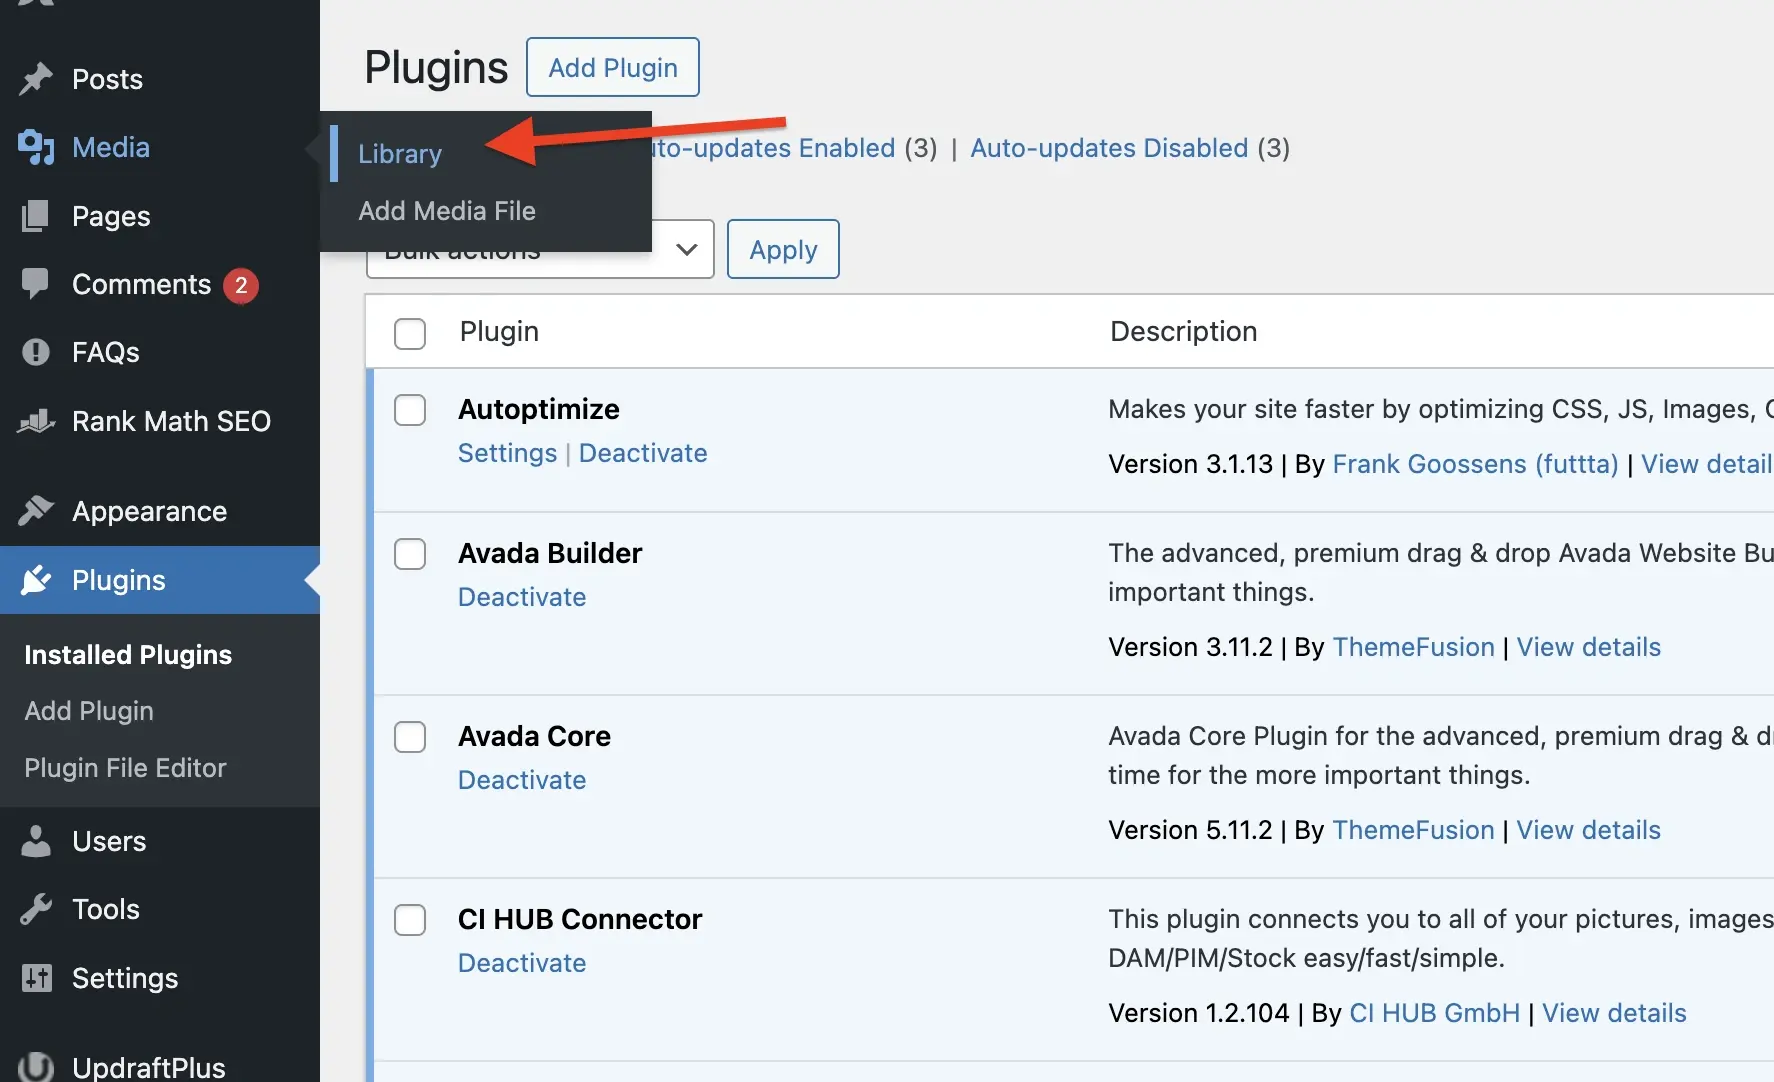
After your plugin has been successfully activated, click on "Media" on the left side if your screen and open your library.


wordpress-step4
Step 4

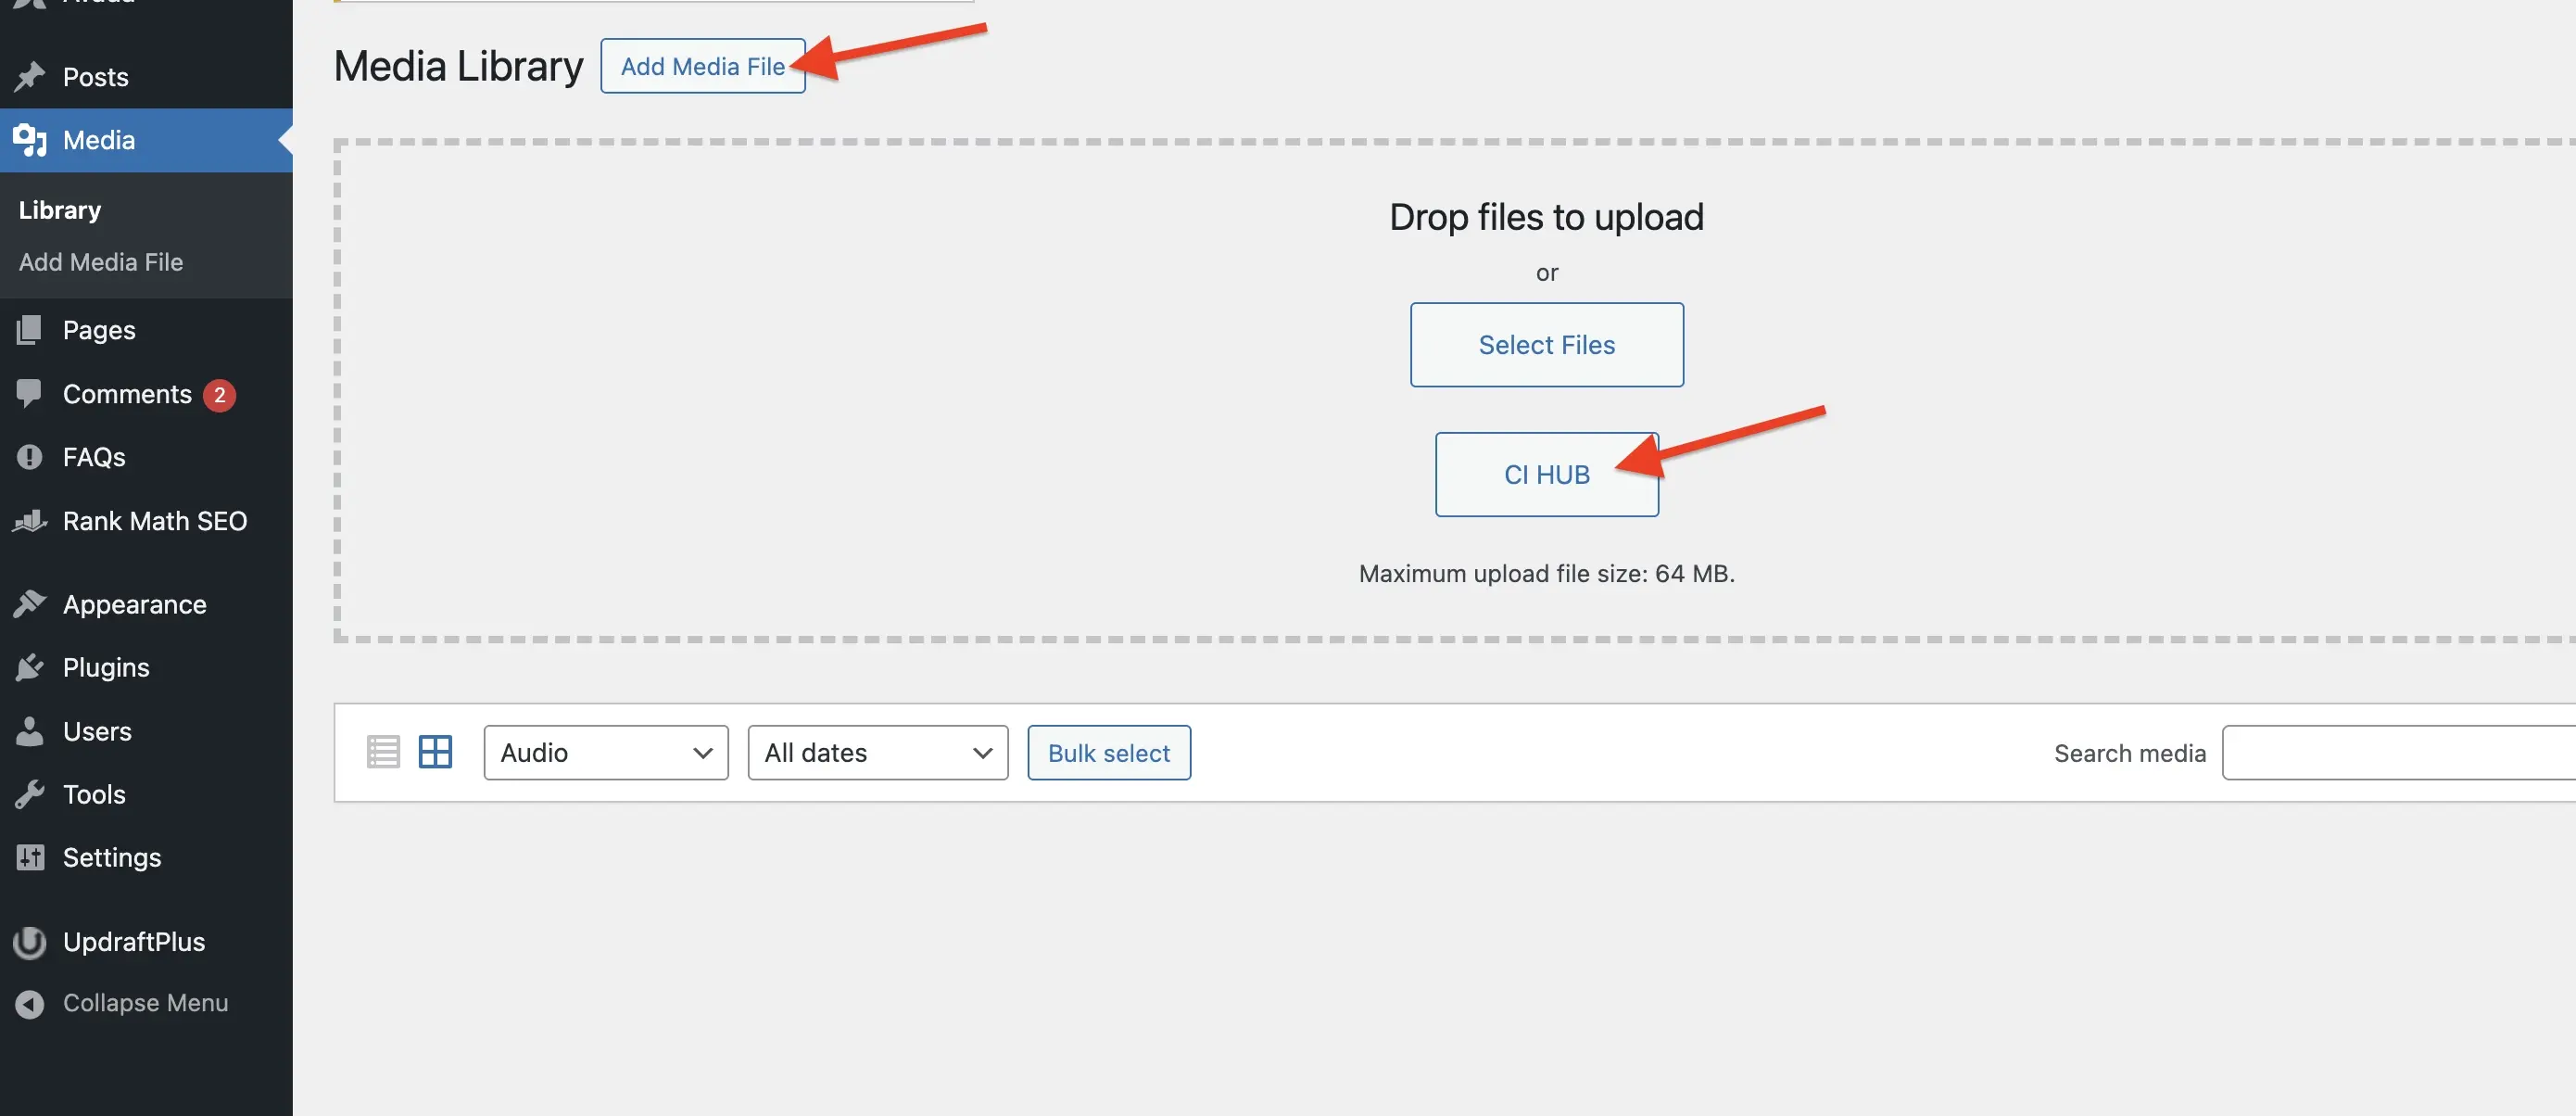
Click on "Add Media File" and select "CI HUB".

wordpress-step5
Step 5

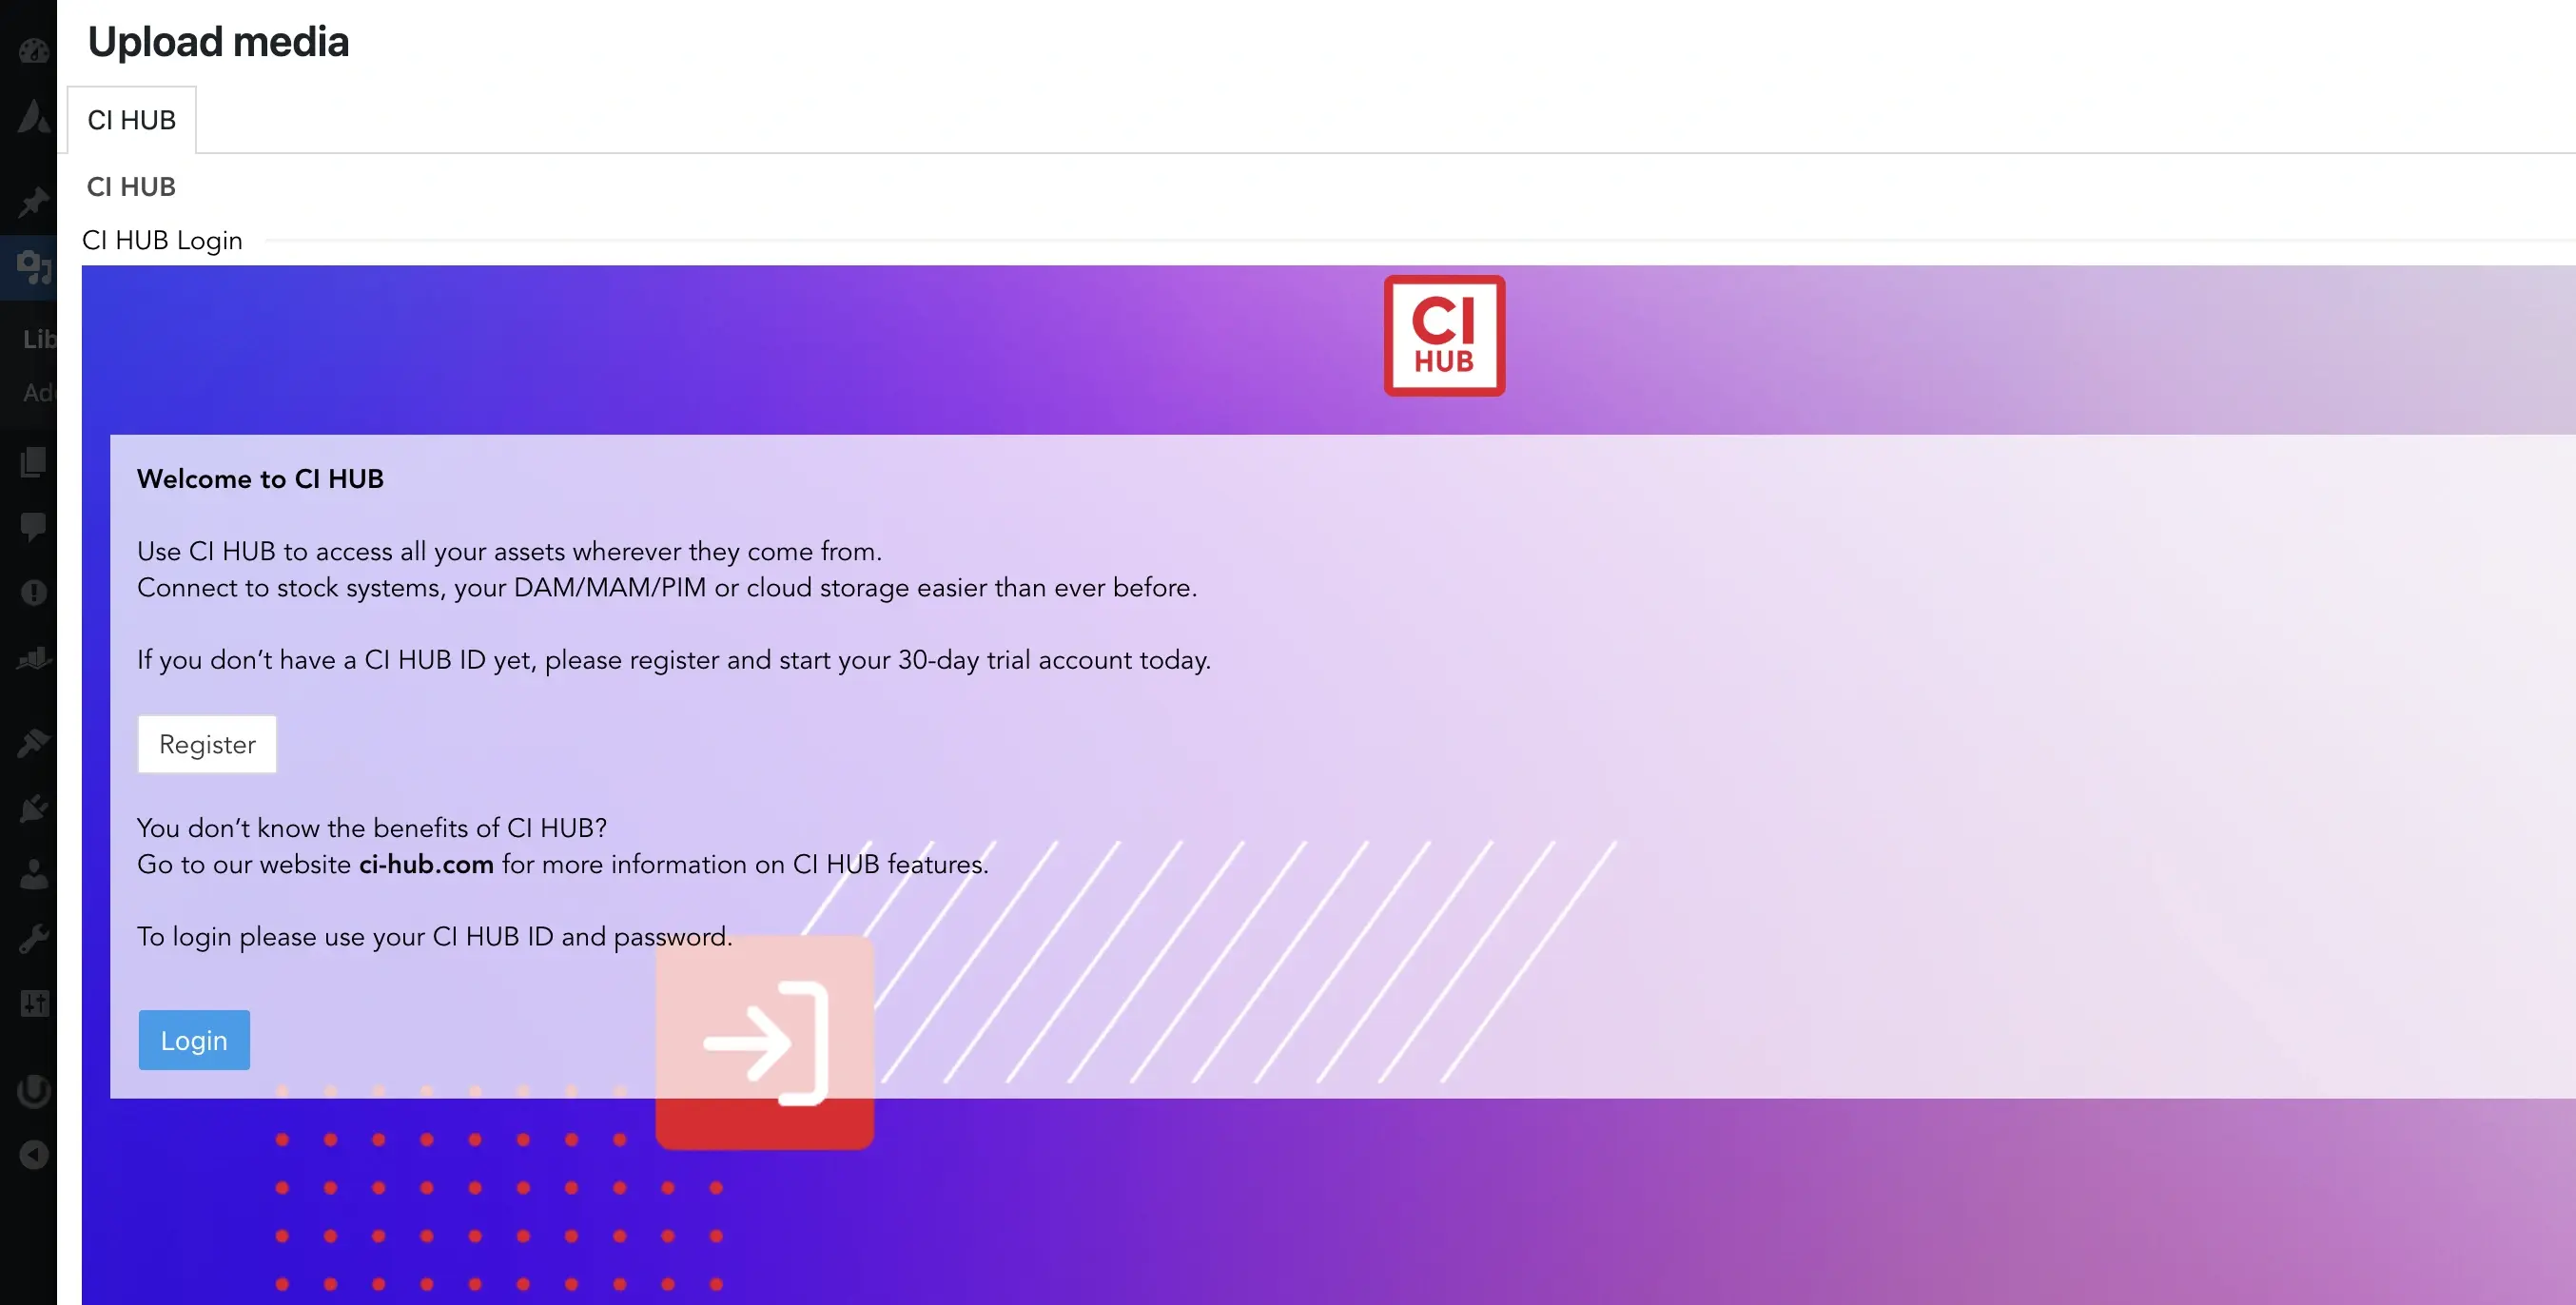
Click Login once the CI HUB pop up appears and enter in your CI HUB credentials to enable the connector.

wordpress-step6
Step 6
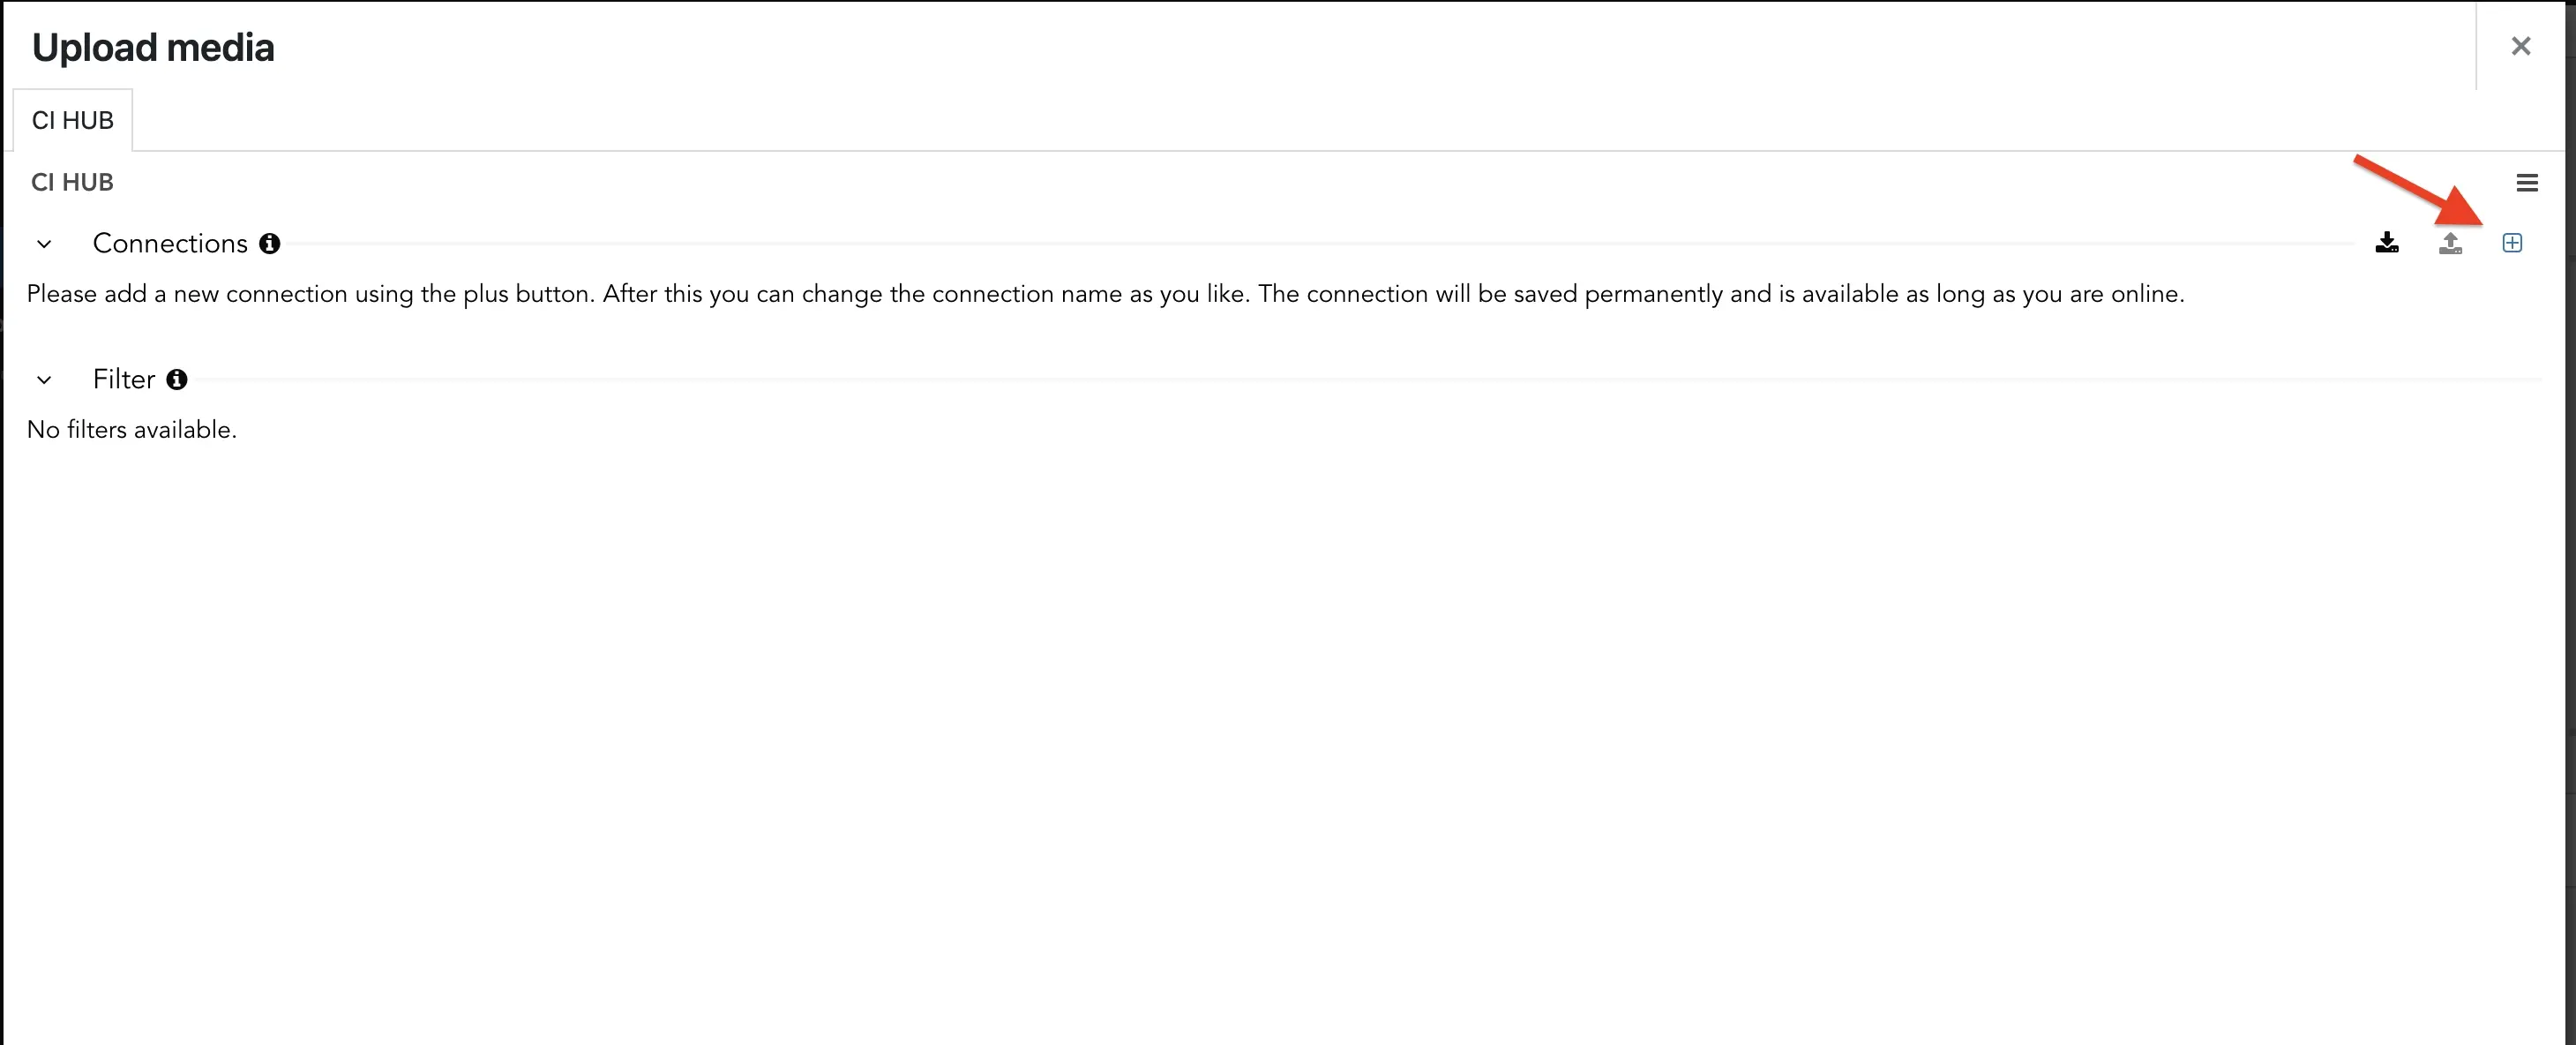
Once the CI HUB Connector is enabled, click the + symbol next to connections. Search your connection and click on the + button to add the connection. 
ci-hub-get-started-connector-professional-adobe-step6
Step 7
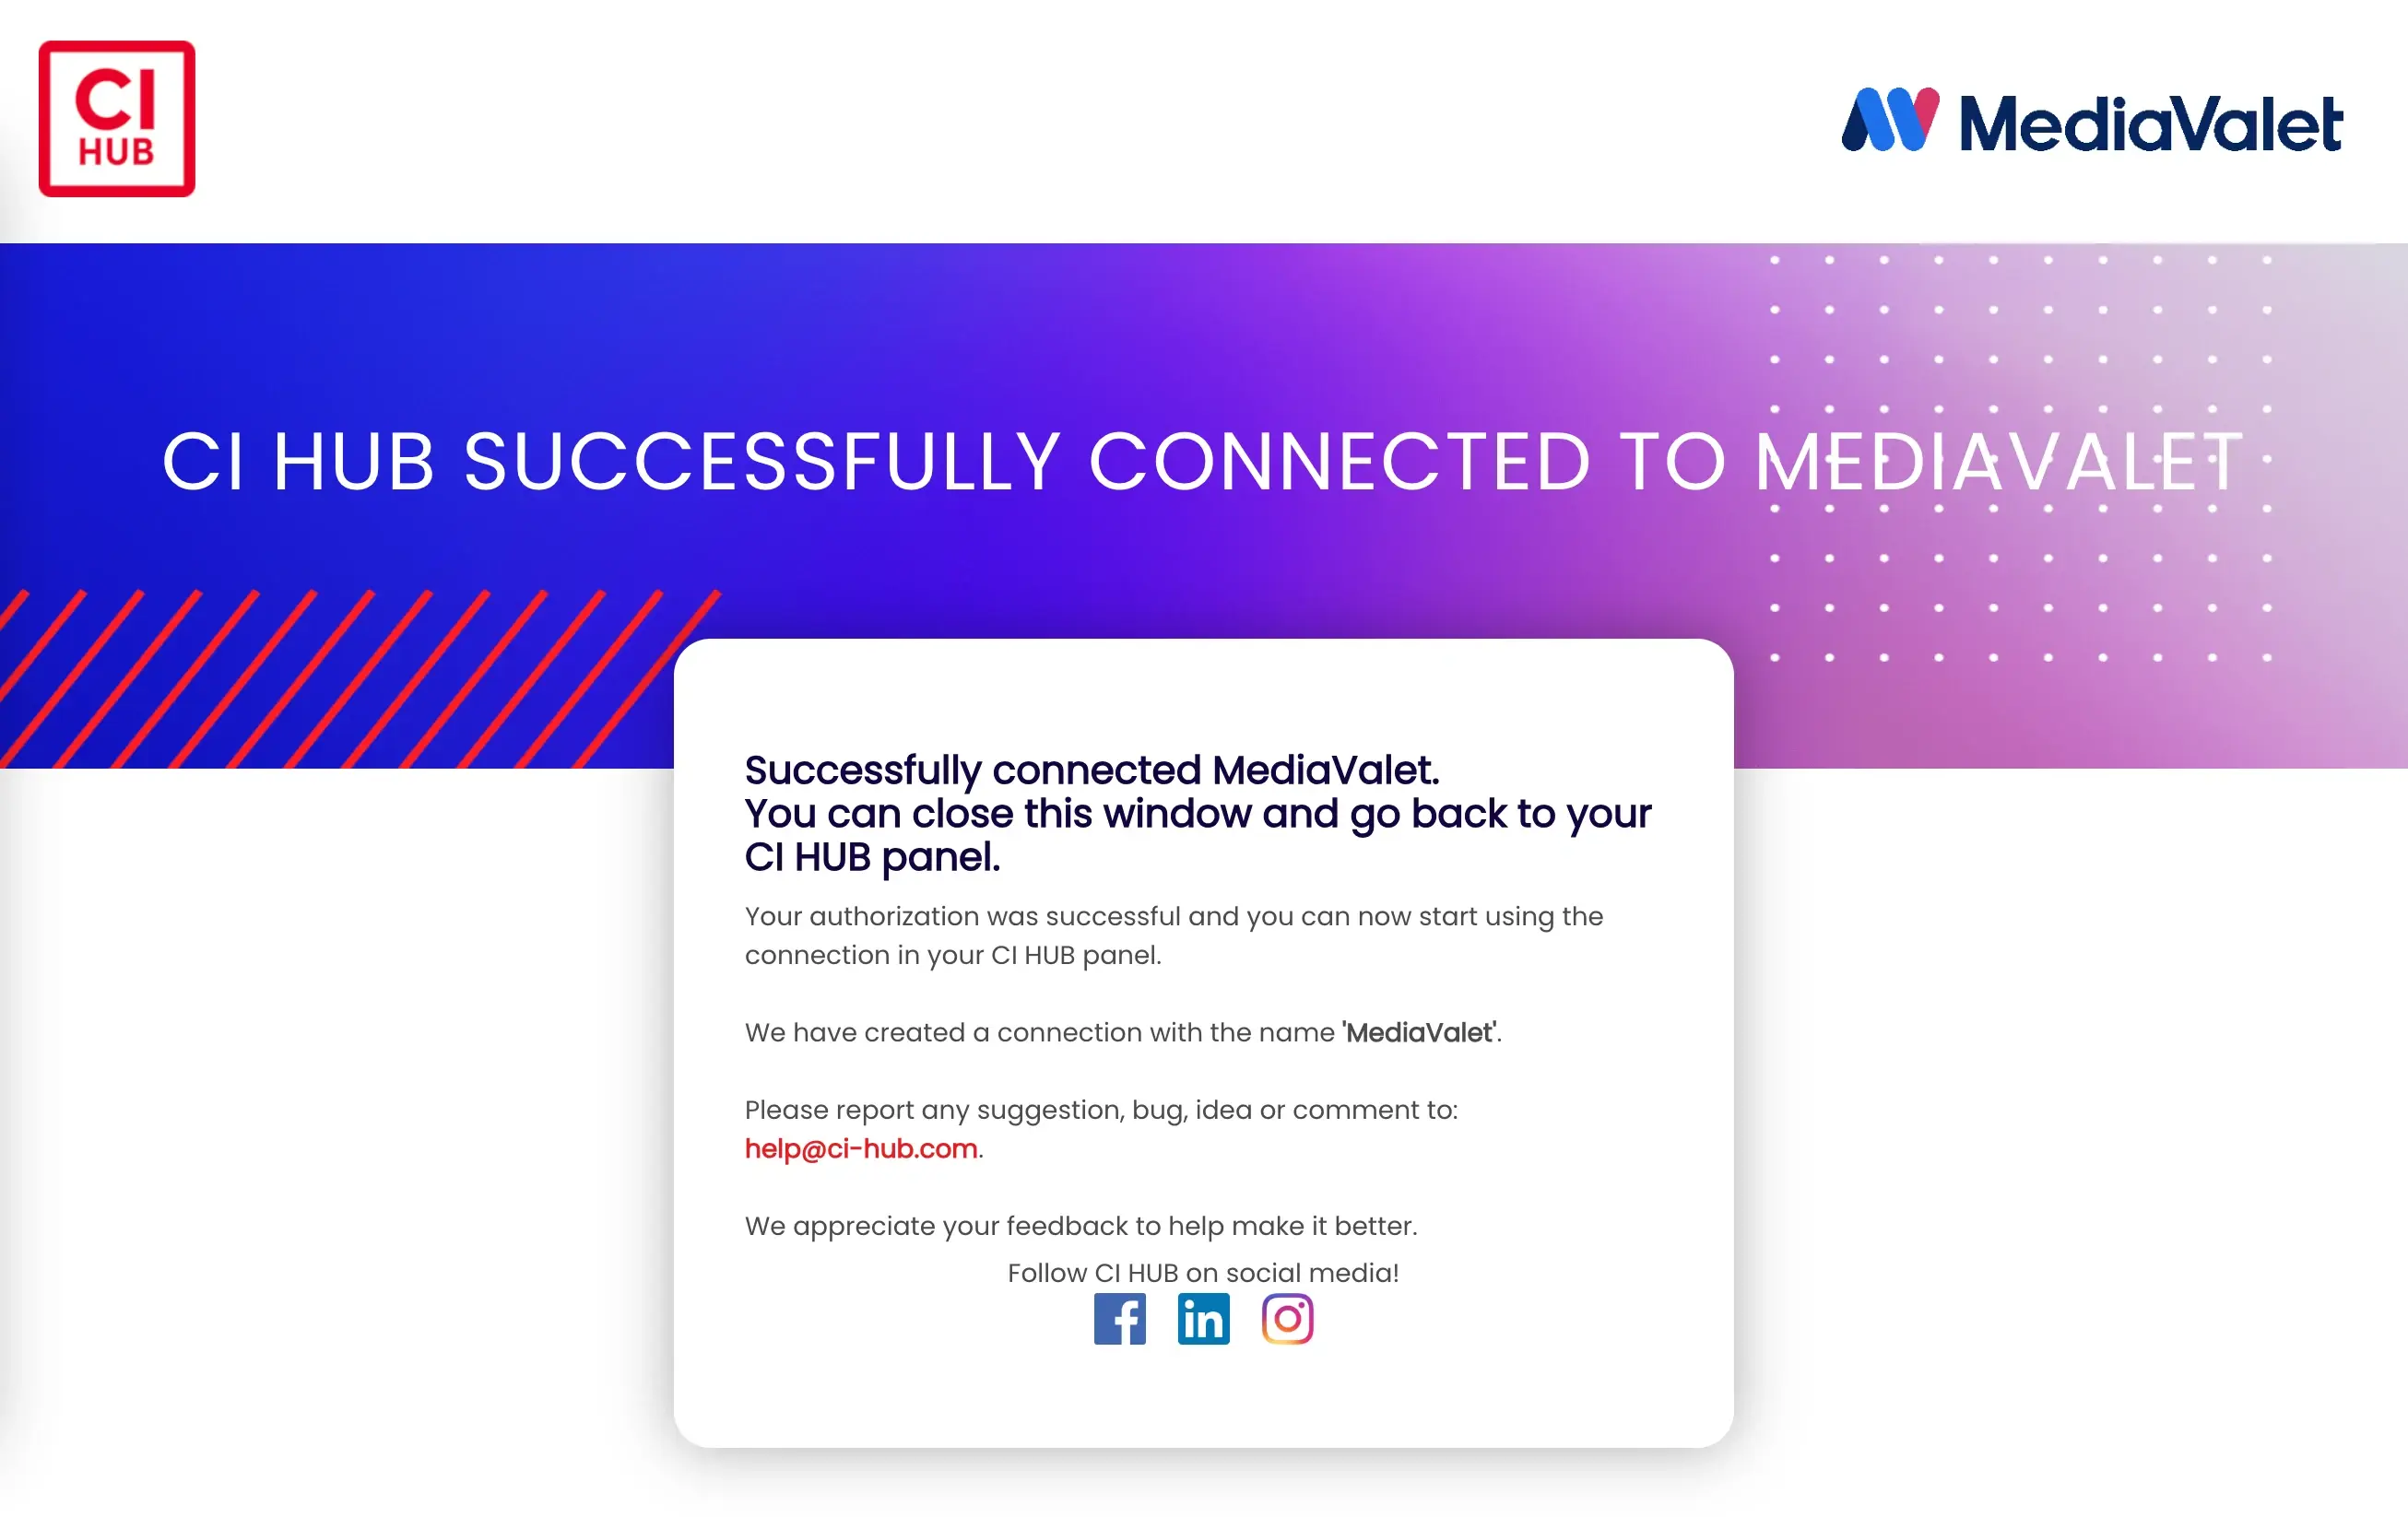
Once authenticated, you'll receive a pop up notification letting you know that CI HUB has been successfully connected to any connection.
× Full view

Video Introduction Headline

Lorem ipsum dolor sit amet, consectetur adipiscing elit, sed do eiusmod tempor incididunt ut labore et dolore magna aliqua. Ut enim ad minim veniam, quis nostrud exercitation ullamco laboris nisi ut aliquip ex ea.

Do you have questions?
We have the answers

You can install CI HUB Connector Professional through the normal WordPress plugin installation process. Once installed and activated, the connector can be configured to connect with your DAM system.

Before installation, you should have a WordPress site, valid CI HUB credentials, and access to a supported DAM system. This ensures a smooth connection setup after installation.

After activating the plugin, open the CI HUB settings and log in with your CI HUB credentials. You can then add and authenticate your DAM connection to start accessing assets.

Yes. Once connected, you can search and access approved assets from your DAM while working in WordPress. This helps content teams find the right files without switching between platforms.

CI HUB brings DAM assets directly into the WordPress environment, making it easier to locate and use approved content. This reduces manual file handling and helps teams publish content more efficiently.