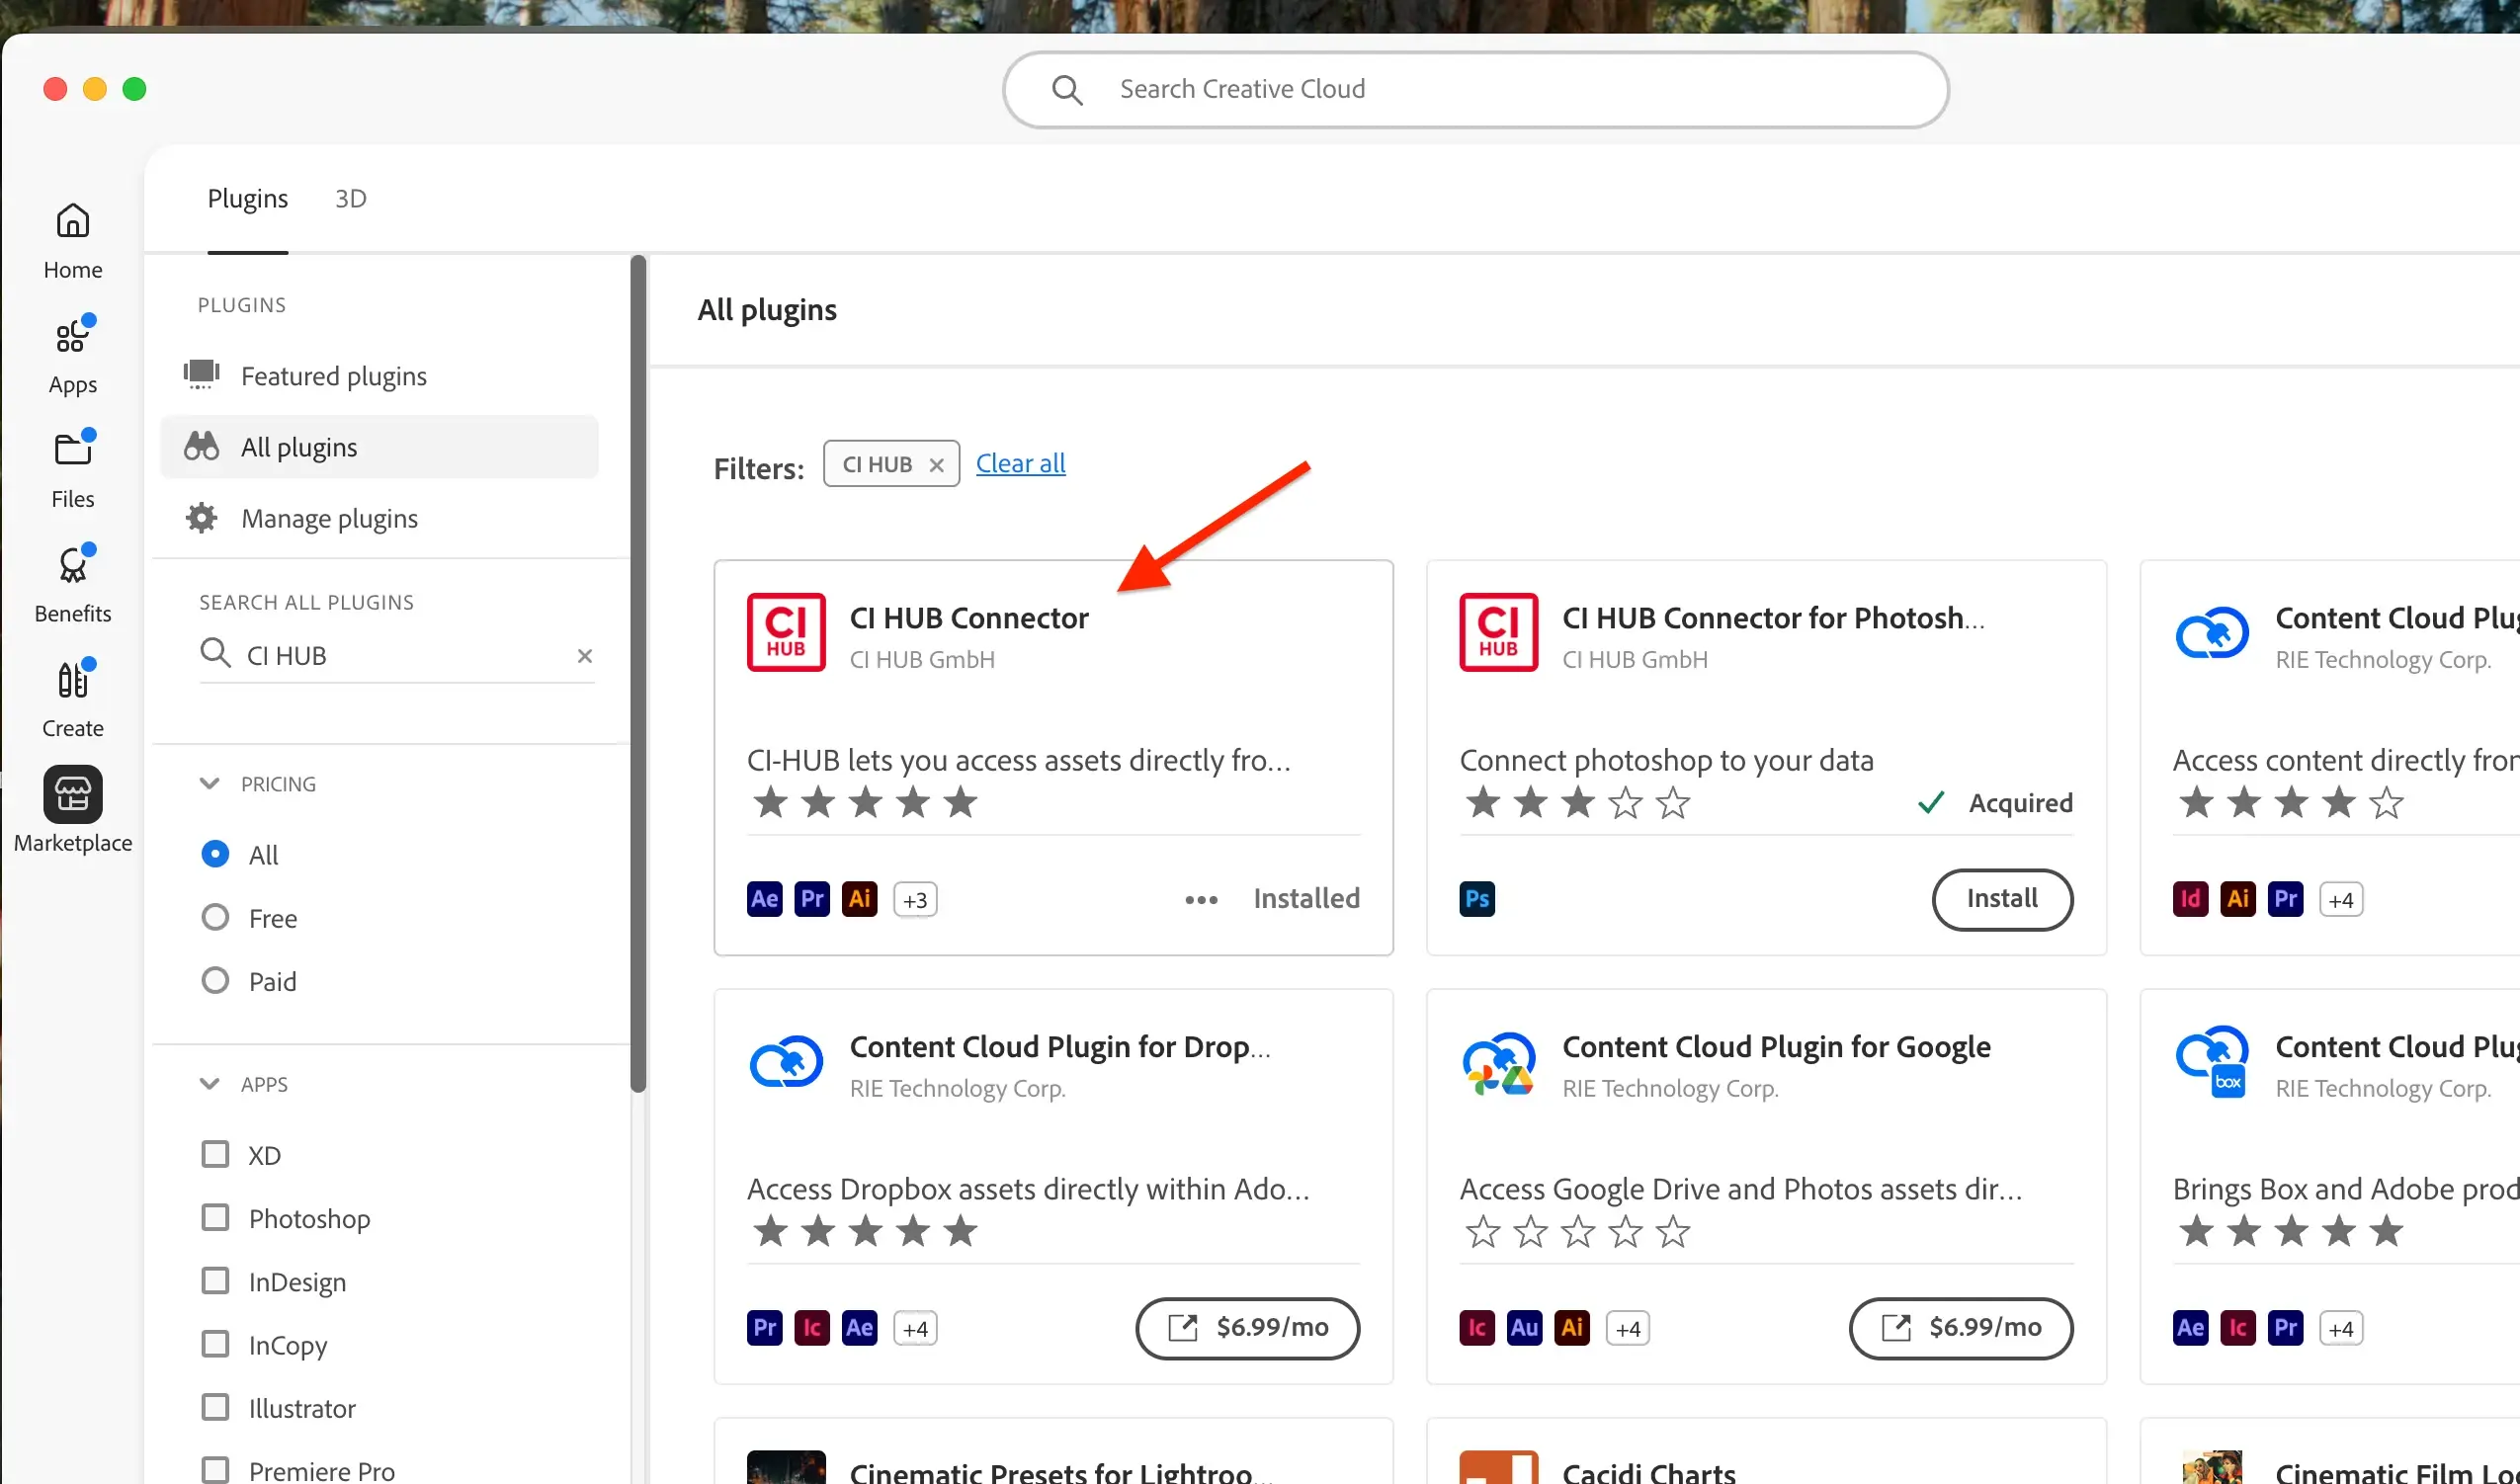
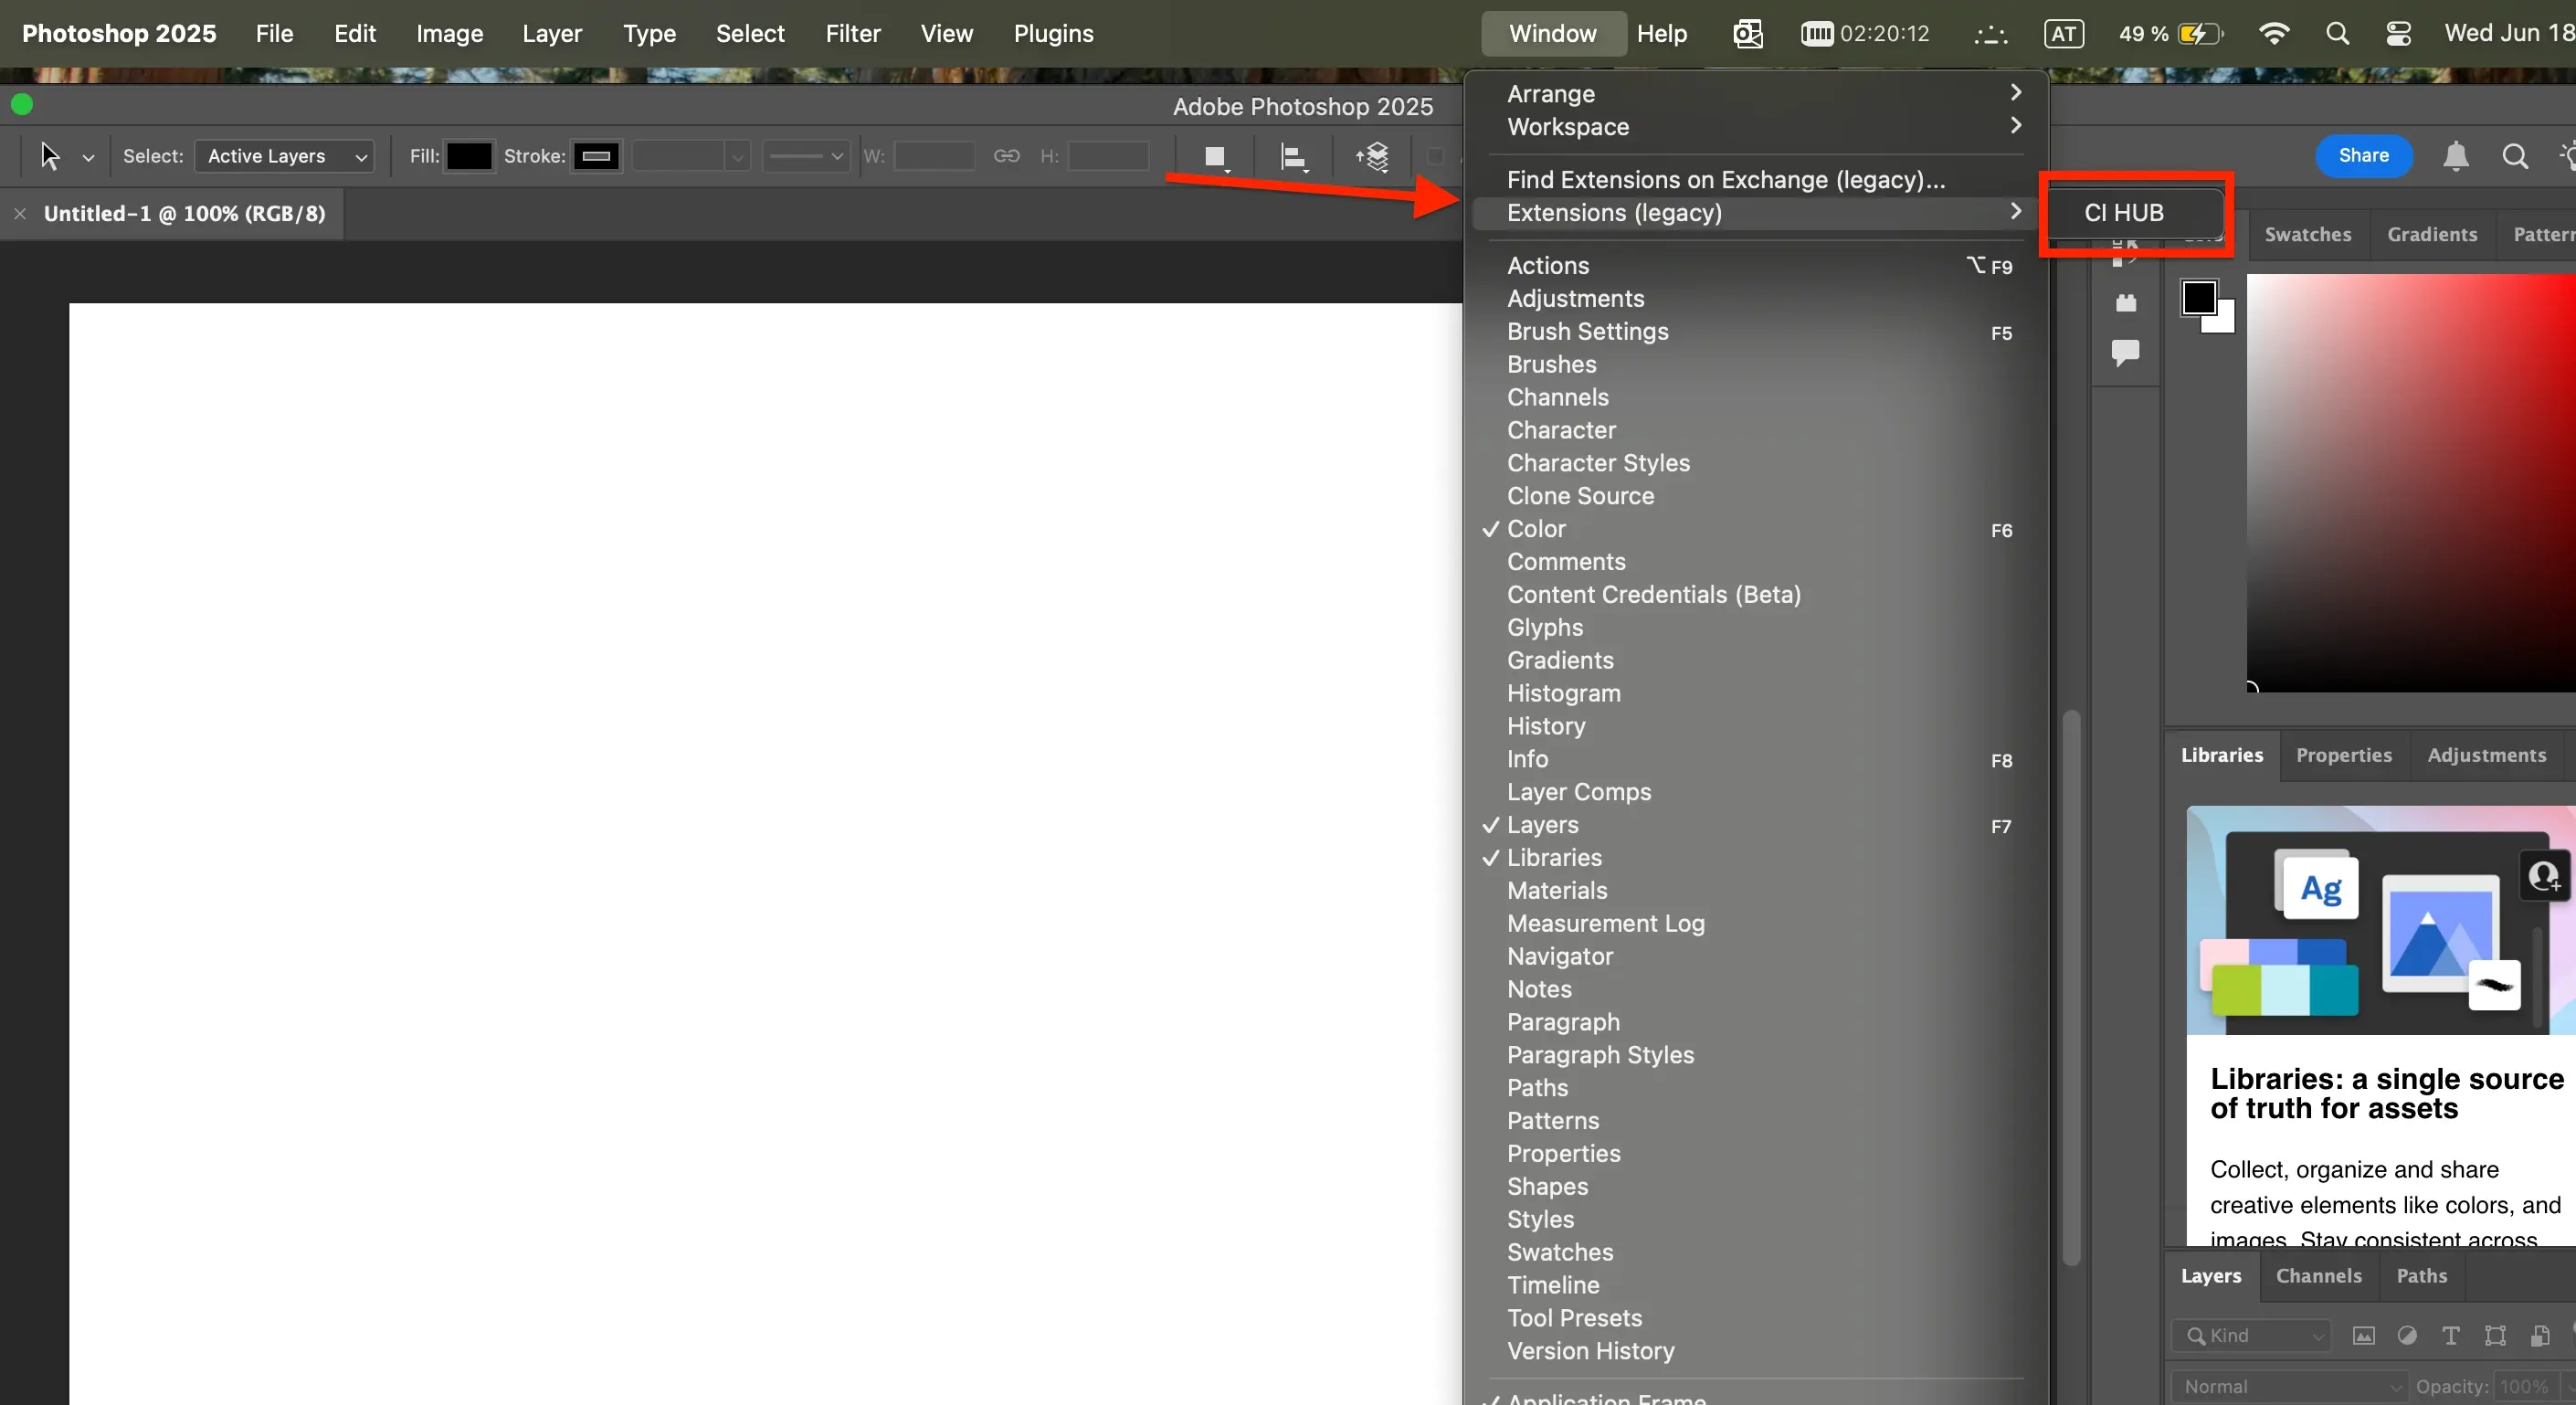
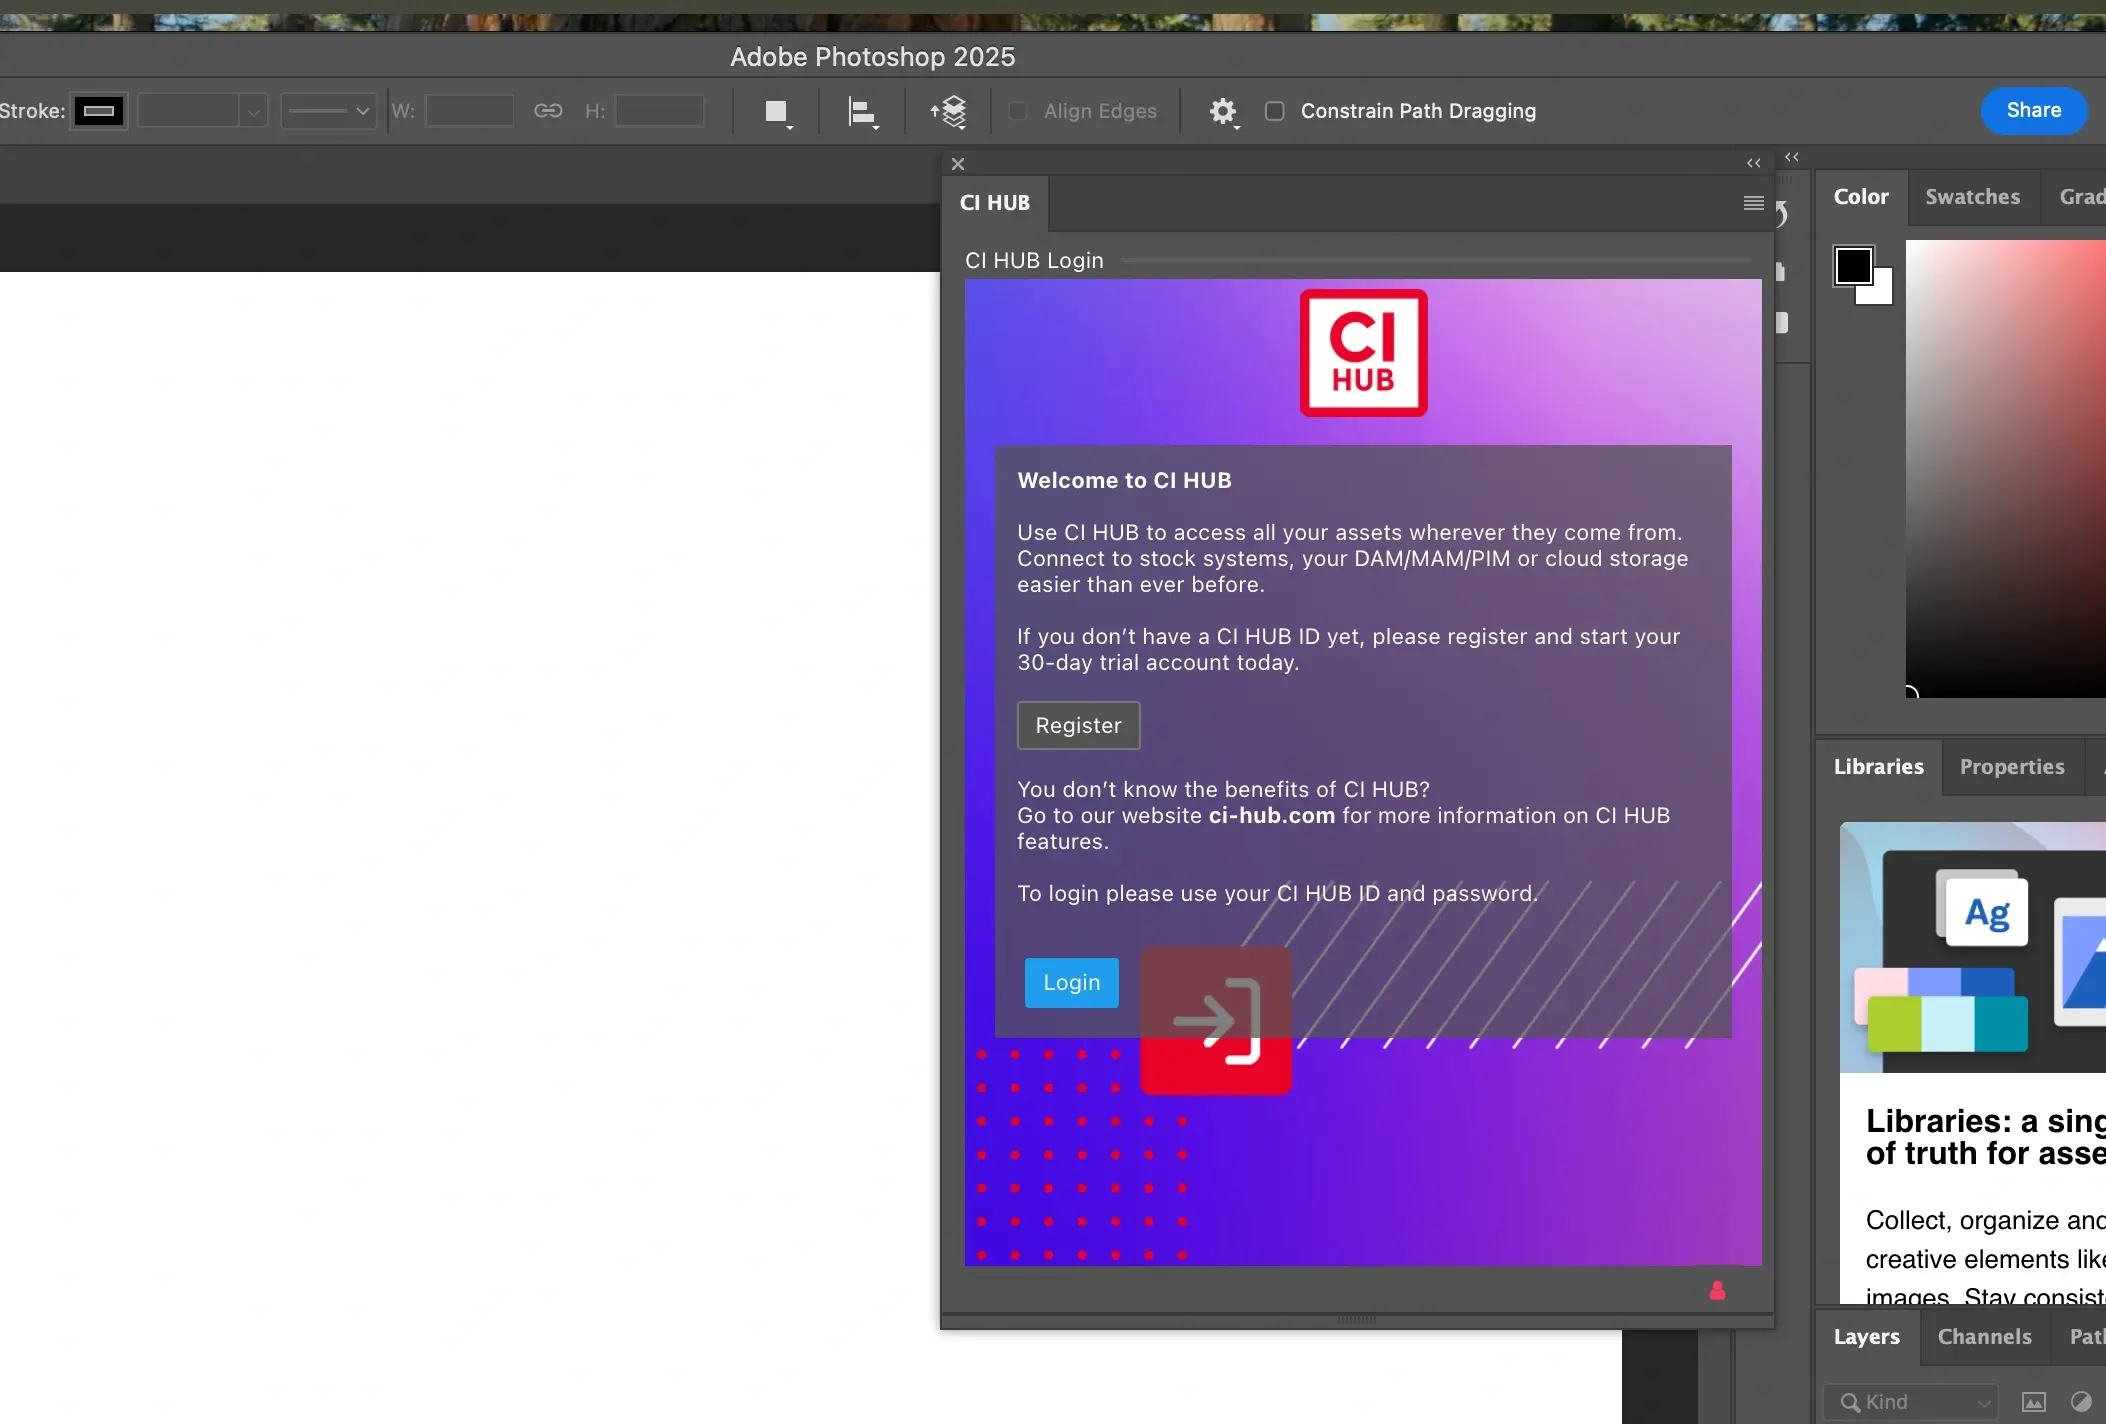
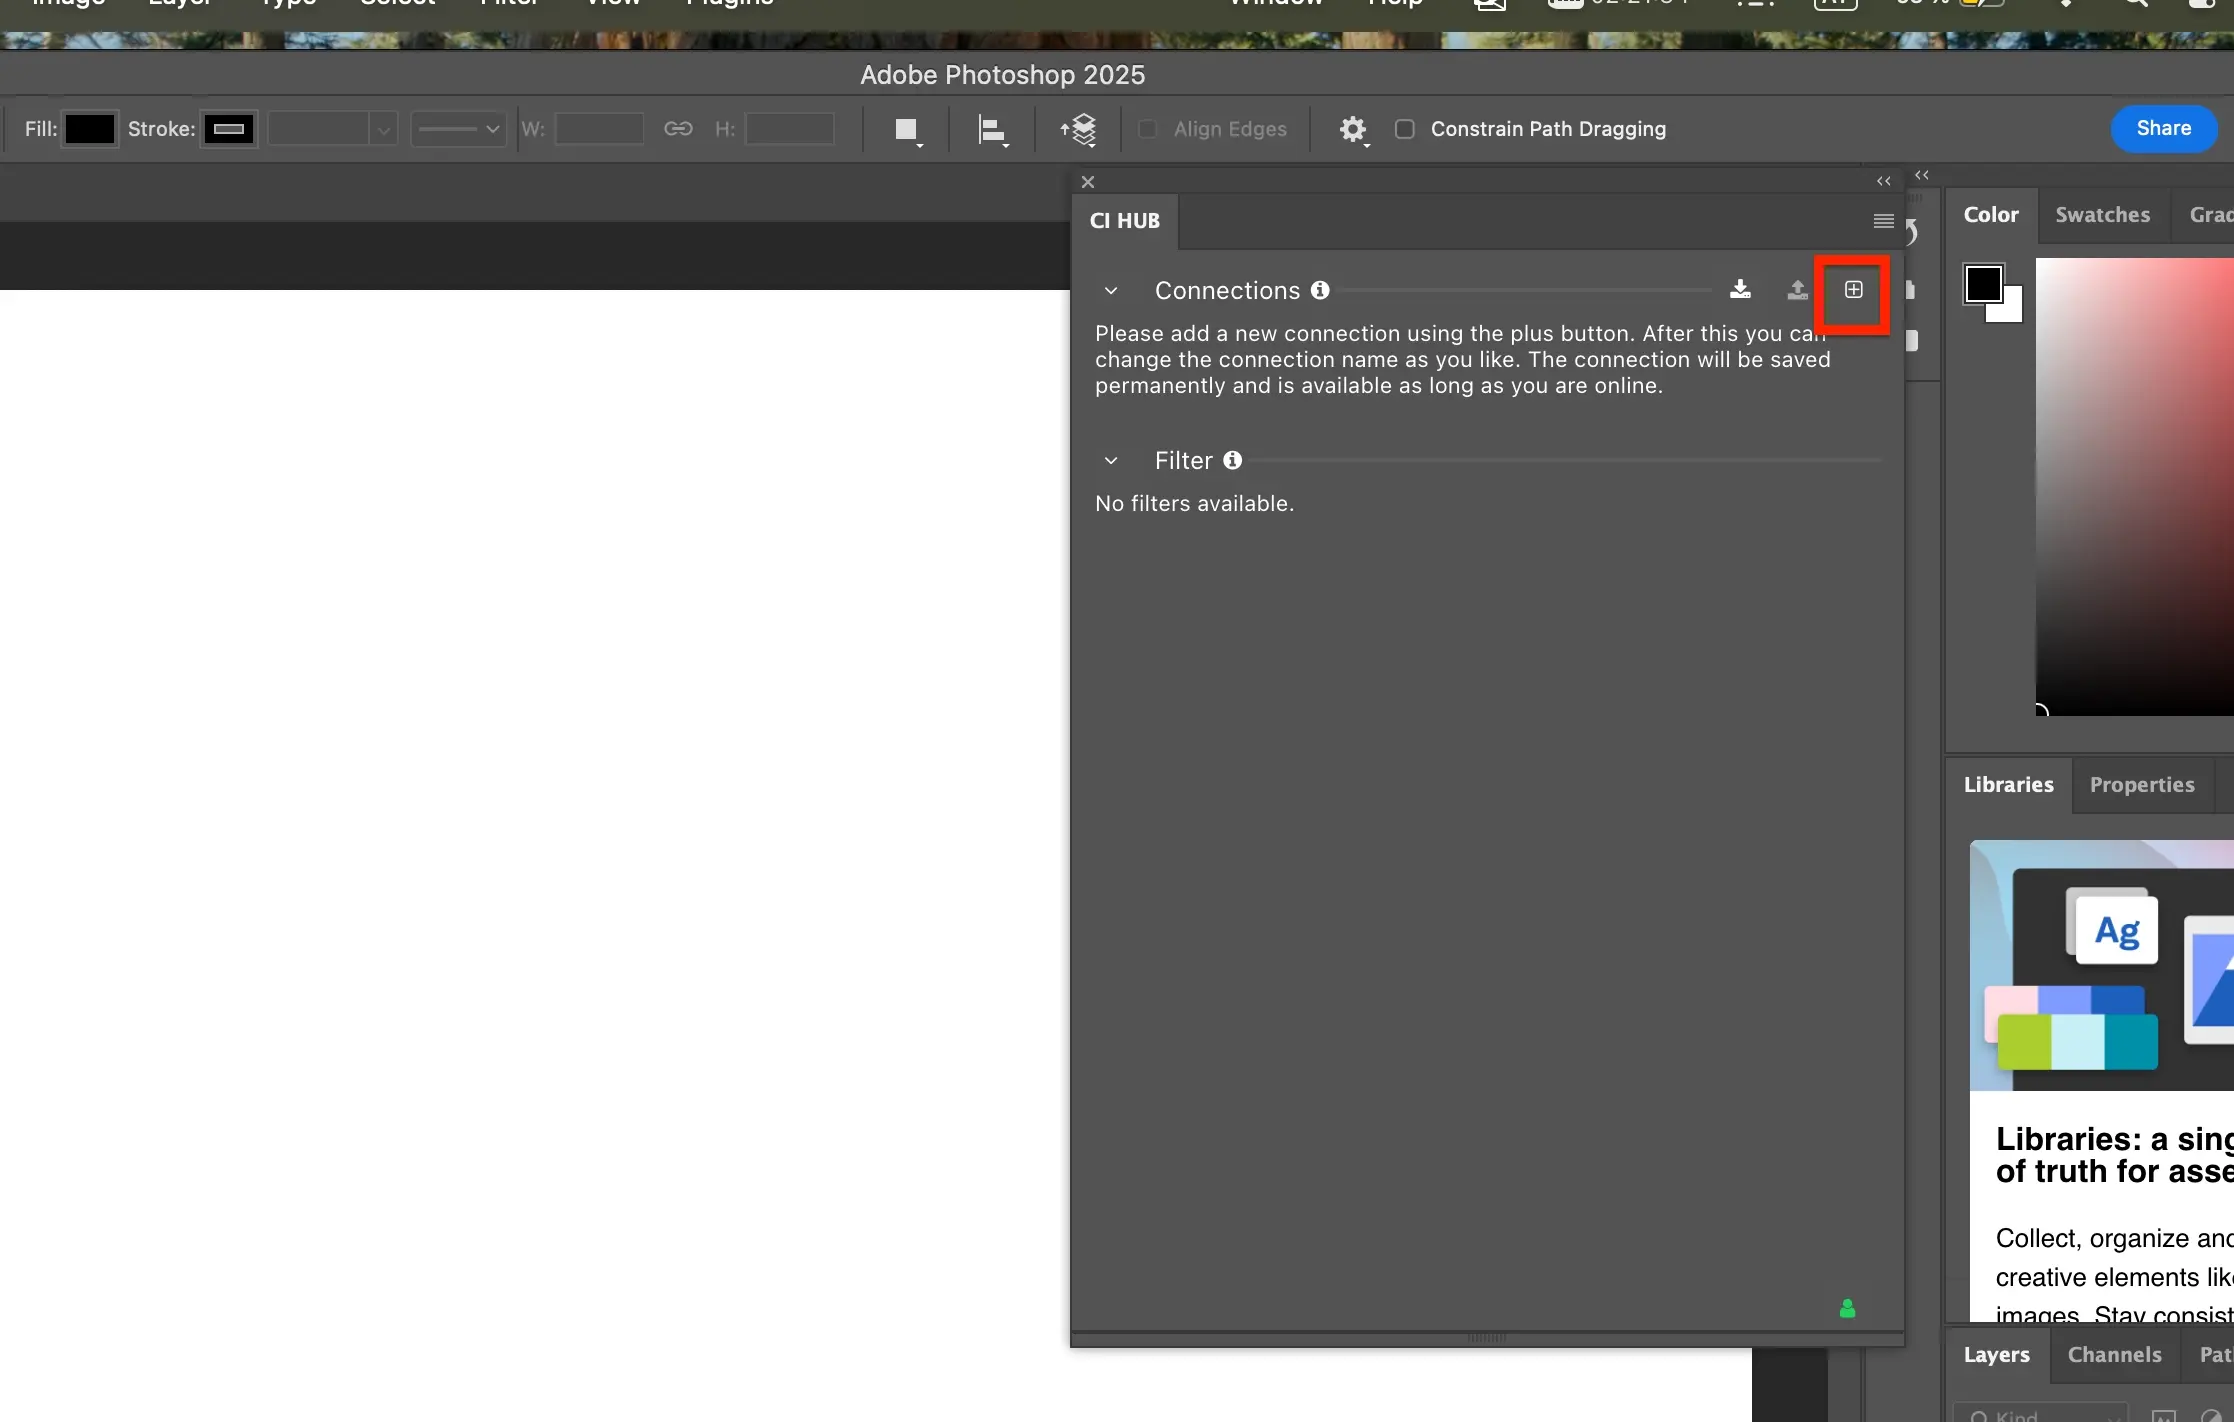
How to install CI HUB Connector Professional in
Adobe Photoshop (Intel Macs & Windows)
Follow this step-by-step guide to complete your installation.
Ensure you are on a Windows computer or an Intel Mac.
(For Apple Silicon Macs, continue here instead.)
Open your Adobe Creative Cloud application. On the left side menu, select Stock & Marketplace then click Plugins.
Alternatively, go to the Adobe Exchange App Detail Page directly.
use and find the plugin/extension under Window ->
Extensions -> CI HUB.
letting you know that CI HUB has been successfully
connected to any connection.
Video Introduction Headline
Lorem ipsum dolor sit amet, consectetur adipiscing elit, sed do eiusmod tempor incididunt ut labore et dolore magna aliqua. Ut enim ad minim veniam, quis nostrud exercitation ullamco laboris nisi ut aliquip ex ea.
Do you have questions?
We have the answers
You can install the CI HUB Connector Professional through the plugin or extension option available for Adobe Photoshop. Once installed, the CI HUB panel appears inside Photoshop and can be connected to your DAM system.
Before installation, you need access to a supported digital asset management system and valid login credentials. This allows you to connect CI HUB to your DAM after setting up the panel.
Yes. CI HUB supports multi-DAM connectivity, which means you can connect more than one DAM system within the Photoshop panel and switch between them as needed.
Once the panel is installed and connected to your DAM, you can search assets using keywords or metadata. You can then preview and place assets directly into your Photoshop workspace without manual downloads.