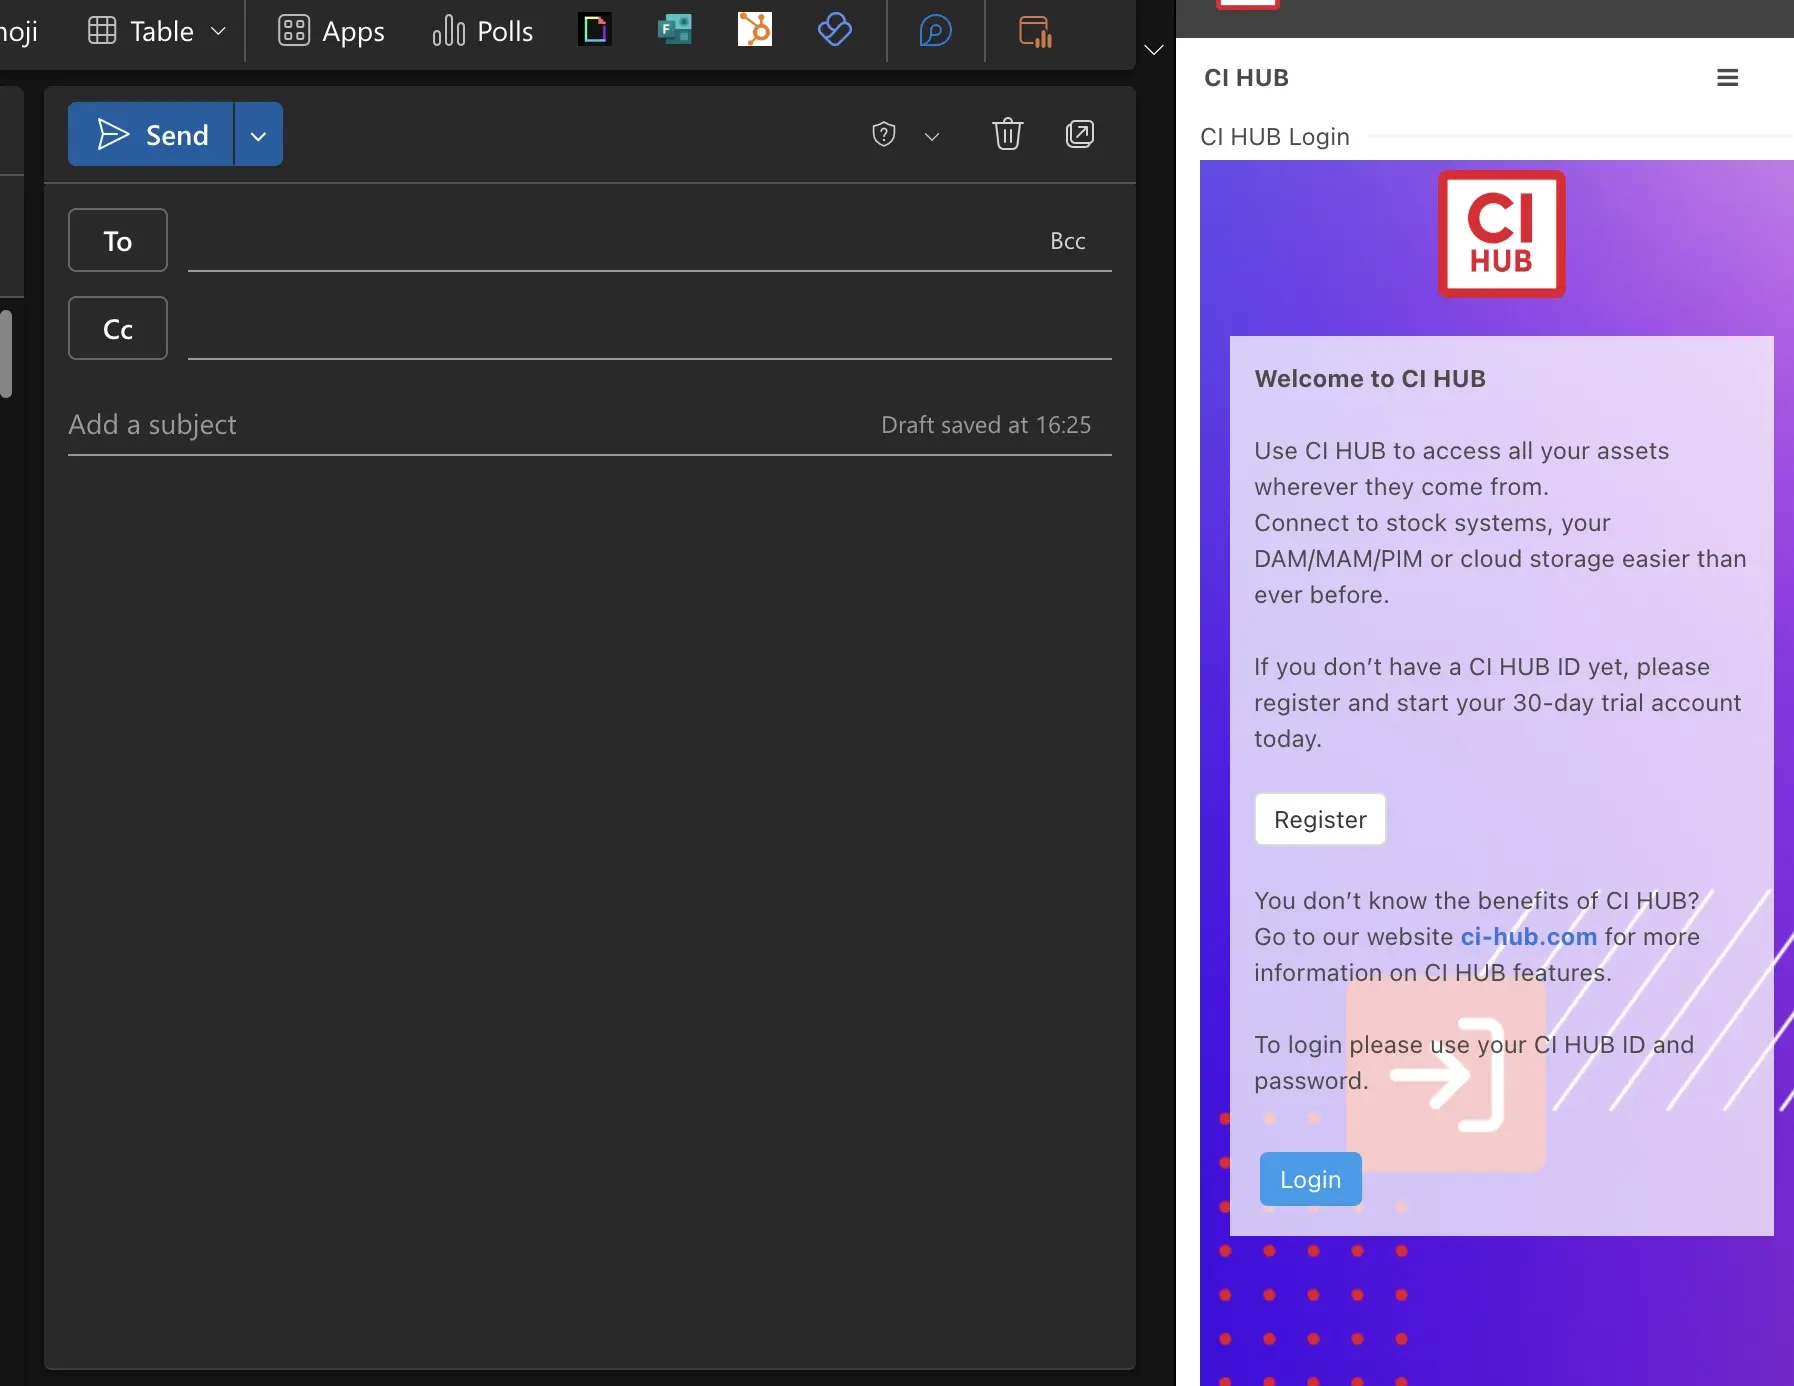
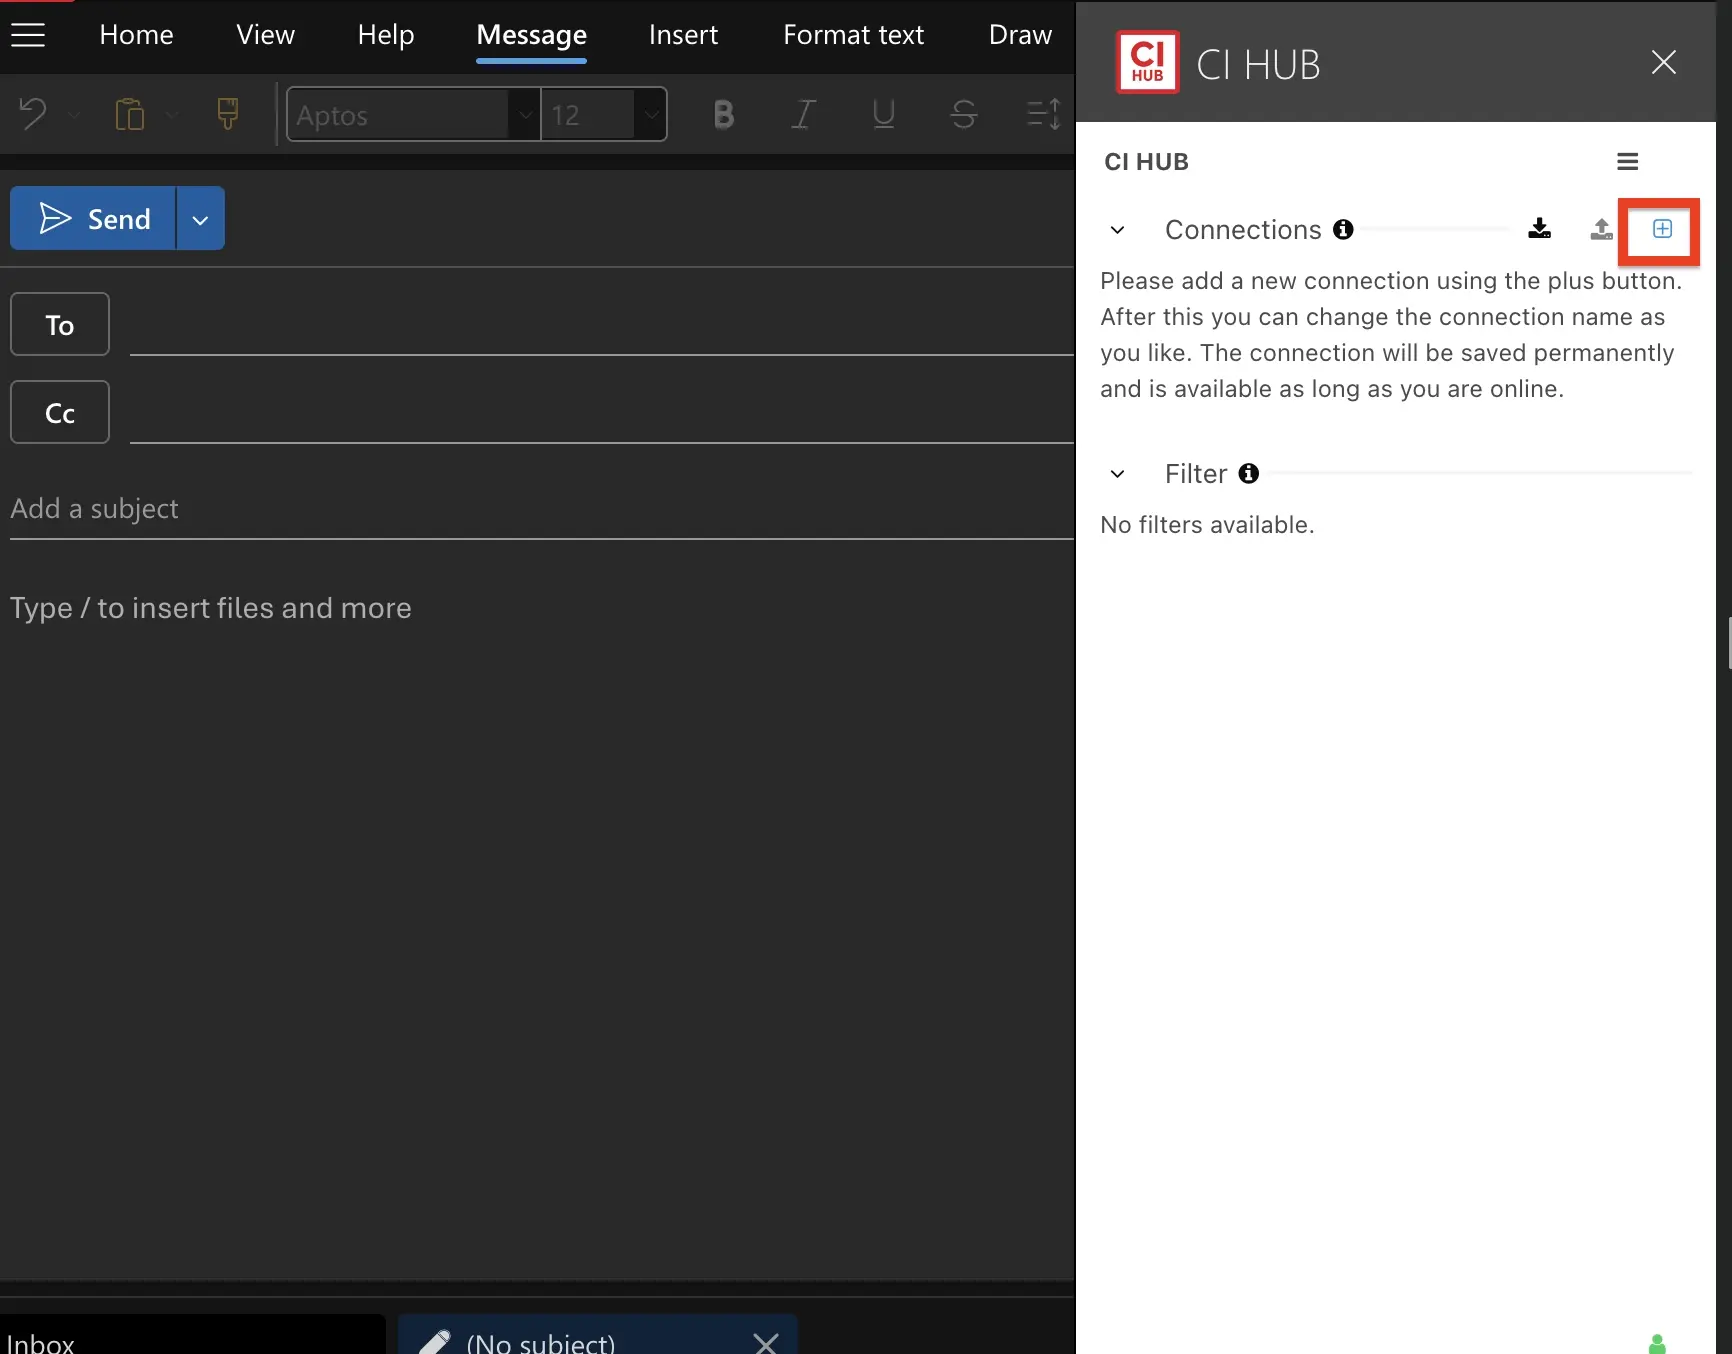
How to install CI HUB Connector Professional in
Microsoft Outlook

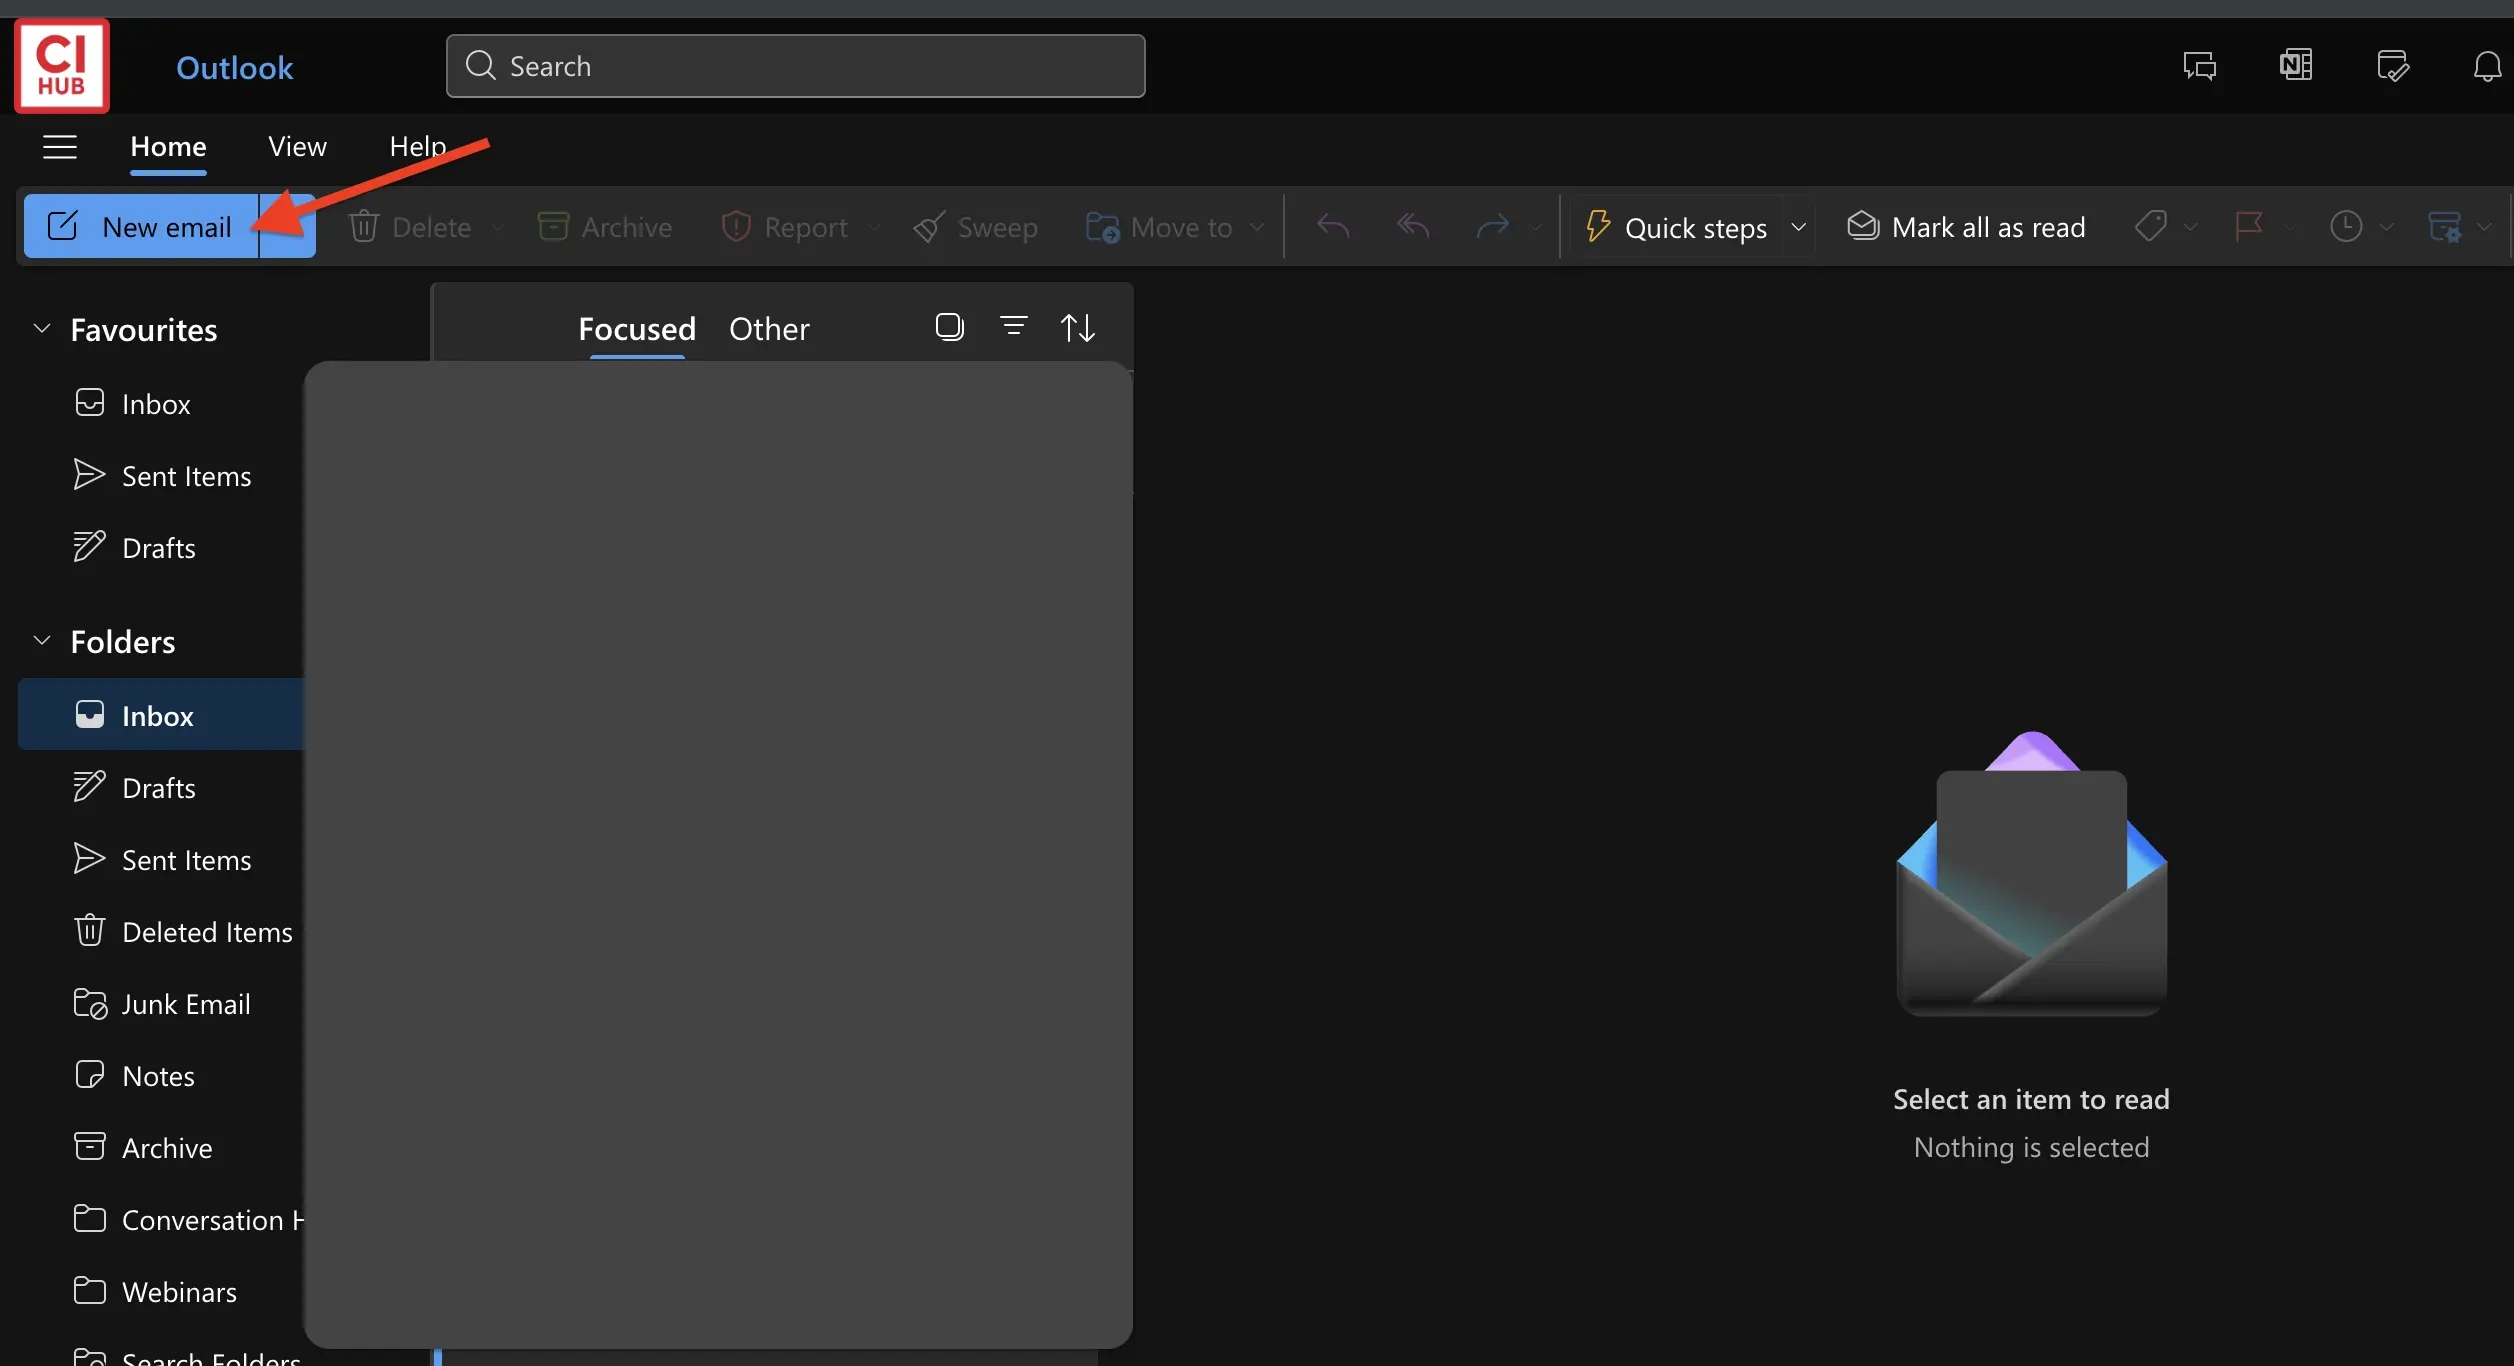
Follow this step-by-step guide to complete your installation. You can click on the pictures to view enlarged versions of each image!

microsoft-outlook-step1
Step 1

Open Microsoft Outlook and create a new email.

microsoft-outlook-step2
Step 2

On the top side of the screen, select "Insert", "Apps", then click on "Add apps".

microsoft-outlook-step3
Step 3

In the search bar type "CI HUB" and click on "CI HUB Connector for Outlook"

microsoft-outlook-step4
Step 4

Click on "Add" to start the installation process and follow the steps.

microsoft-outlook-step5
Step 5

Go back to your previously created email and  in the top menu bar select "Insert", "Apps" and click on "CI HUB Connector for Outlook".

microsoft-outlook-step6
Step 6
Click Login once the CI HUB pop up appears and enter in your CI HUB credentials to enable the connector.
microsoft-outlook-step7
Step 7
Once the CI HUB Connector is enabled, click the + symbol next to connections. Search your connection and click on the + button to add the connection. 
ci-hub-get-started-connector-professional-adobe-step6
Step 8
Once authenticated, you'll receive a pop up notification letting you know that CI HUB has been successfully connected to any connection.
× Full view

Video Introduction Headline

Lorem ipsum dolor sit amet, consectetur adipiscing elit, sed do eiusmod tempor incididunt ut labore et dolore magna aliqua. Ut enim ad minim veniam, quis nostrud exercitation ullamco laboris nisi ut aliquip ex ea.

Do you have questions?
We have the answers

Begin by opening Microsoft Outlook and creating a new email. From the top menu, go to Insert → Apps → Add apps to start the installation process.

In the Apps section, search for “CI HUB” and select CI HUB Connector for Outlook. Click on Add and follow the steps to complete the installation.

After installation, go back to your email window and open Insert → Apps → CI HUB Connector for Outlook. This will open the CI HUB panel inside Outlook.

Once the panel opens, click on Login and enter your CI HUB credentials. This will enable the connector so you can start using it.

In the CI HUB panel, click the + icon next to connections. Search for your DAM system, add it, and complete authentication. You will see a confirmation notification once the connection is successful.